If you have an existing enterprise resource planning (ERP) system or supply chain management software, QMS Audit Pro (LQAPS) integrates with it. Presently QMS Audit Pro (LQAPS) has integration with SAP ERP. Integration with ERP helps in maintaining consistency across all platforms and prevents duplicate data entry.
Any customer system that is capable of exporting information in an ASCII format or JSON API may be interfaced with LQAPS. The automated export of information from a customer in-house system provides a periodic stream of data used by our systems. However, no physical connection is made between the in-house information system and the LQPS database. This one-way flow of information insures that data integrity and synchronization always exists between both systems.
QMS Audit Pro (LQAPS)
Integration with ERP or Supply Chain Software
Participation report for the date of Sunday 1/9 to see QA inspection participation last week shows zero participation when I ran the report. Inspections date is 1/3 Monday.
Inspection Data was entered on 01/10/2022. In future release of reporting will show date entered details to provide more clarity.
Can you explain how the healthcare audits are currently displaying on the participation report? I have a location who completed an audit on Monday that now does not show as completed for the week.
For super category, Start Date will be calculated based End date so if you run today (as per below screenshot), for a super category Date range will be from 02/01/2022 to 02/02/2022 and an inspection category date range will be from Monday 1/31/2022 to 02/02/2022. When you had run the report on Monday 01/31/2022 for a super category date would be 01/01/2022 to 01/31/2022 and that's why you were seeing the Healthcare entries.

Why new admin isn't able to select any locations past certain location in either the participant dashboard or under search in inspections?
He is not able to see any location past certain location because, he doesn't have permission to view other locations. You just have to give the permission to all the locations where he needs access to view data.
I have a location in that as far as I can tell should not have been set up. That said, there are inspections that were previously entered for this location. If the location is removed in the system, will the history of the inspections still be retained?
We don't delete any inspections if location has been deleted, the only time inspection will be deleted if you exclusively click on a delete (red x button, next to edit) button of an inspection.
When I go into edit in the inspection and hit save, it isn’t actually saving my edits. Instead it’s saving a duplicate of that inspection.
As per rule if someone want to edit any inspections then it should be edited by only same user who has entered the inspection. If different user is trying to edit, then it will treat as a new inspection. In future best way to handle this scenario would be delete existing inspection and add new one if for some reason same user can't edit.
Category Out-of-compliance Automated Email
For each super category, admin users can establish compliance criteria for number of inspection for specific time period (Weekly or Monthly) using "Category Maintenance". 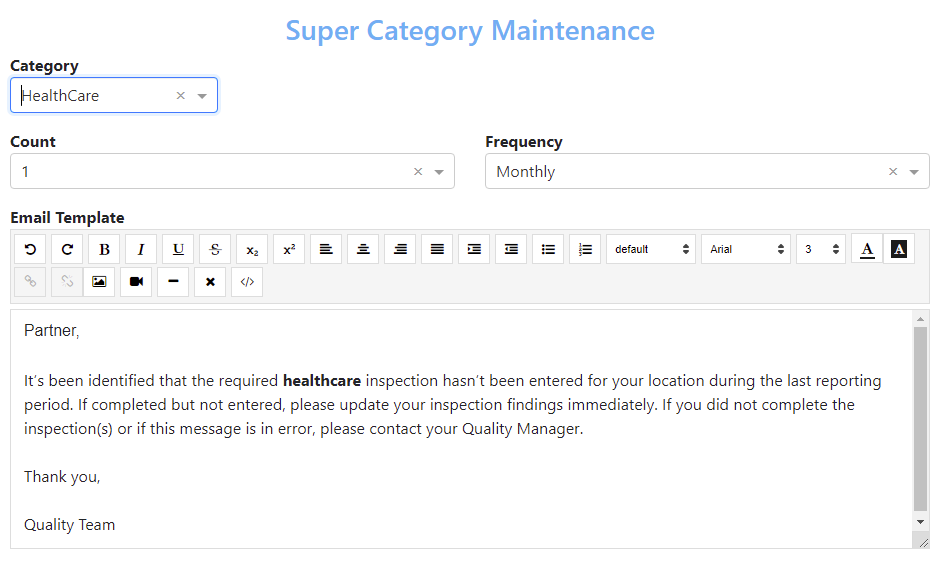
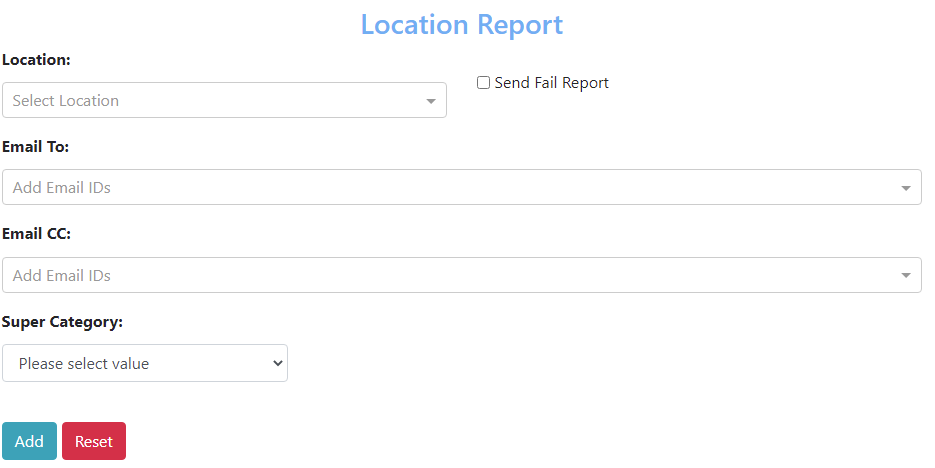
Email text can be edited using Online Word Editor in "Category Maintenance". Automated email is generated when location doesn't complete number of inspections for given period. Recipients for the out-of-compliance Email address can be added/updated under Location Report in the maintenance.
How to add and remove users from locations in QMS Audit Pro?
Locations are a great way to help you organize users and manage access, as well as organization permissions in bulk.
This article shows you how to add and remove users from locations, either one at a time or in bulk, on the web app.
Before you begin
Please note that users can only be added and removed from locations on the web app by users with the “Admin” or “Director” permission.
If your organization doesn’t have any locations, learn how to create locations before adding in users.
Add a user to a location
- Log in to the QMS Audit Pro web app.
- Click your settings on the top-left corner of the page.
- Select Users from the left of the page.
- Provide User information including Username, Name, Email, Territory, Groups & Locations.
- Select user has mobile access or web access or both access.
Remove a user from a location
- Log in to the QMS Audit Pro web app.
- Click your settings on the top-left corner of the page.
- Search Users from the middle of the page.
- Click the X icon next to the user’s name.
- In the pop-up window, click Remove to confirm the removal.
How to delete audits in QMS Audit Pro?
Looking to delete old audits or incorrect audits? If you have audits that you no longer need to use, you can delete them completely.
Before you begin
Inspectors can delete their own audits. You must have the higher level permission for to delete any other audits.
Please note that deleting audits is permanent and irreversible. We cannot restore permanently deleted audits.
Delete an audit
From Web app
- Log in to the QMS audit Pro web app and Click on Search.
- Filter Audit Product Search criteria to identify the audit

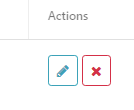
- From Audit Product Result, Select "Delete" from Actions.
How to upload photos on the QMS Audit Pro web app with Windows devices?
This article shows you how to upload photos when conducting inspections on the web app with Windows devices, such as Surface Pro tablets, which support taking photos on the go.
Before you begin
Please make sure your Windows device is connected to the internet when using the web app, as it’s cloud-based and saves changes as you go.
Take and upload a photo to an audit question
- Log in to the QMS Audit Pro web app.
- Start a new or edit an existing audit.
- Find the question you wish to upload a photo for.
- Use the "Camera" application to take the photo, then save it and note the directory location.
- Depending on the question’s response type, click or tap “Add Media” or “Media”.
- This opens a window to your computer file directory.
- Click or tap “Open” on the photo taken and saved in step 4 to attach it to the question.
QMS Audit Pro Mobile device and web browser requirements
This article outlines the minimum mobile device hardware and web browser versions required to run the QMS Audit Pro mobile app and web app.
Mobile devices
Please note that the QMS Audit Pro mobile app requires a minimum of 2GB of device memory (RAM). We recommend using one of the following mobile devices and keeping the device operating system (OS) version as up to date as possible.
Android devices
Phones: Samsung Galaxy S20, Pixel 4, or equivalent
Tablets: Galaxy Tab S6 or equivalent
OS: Android 10.0 or above
Minimum OS: Android 5.0
iOS devices
Phones: iPhone 7 or above
Tablets: iPad Air 2, iPad mini 4, or above
OS: iOS 13.0 or above
Minimum OS: iOS 12.0
It’s also important that the QMS Audit Pro mobile app is kept consistently up to date. You can maintain this by enabling automatic updates on your Android or iOS device.
Web browsers
The QMS Audit Pro web app is designed to be compatible with most web browsers on the following operating systems.
Windows 7 or above
macOS Sierra (10.12) or above
Modern Linux/Unix systems
We recommend using one of the following web browsers and keeping the version as up to date as possible.
Google Chrome 76.0 or above (recommended)
Mozilla Firefox 58.0 or above
Safari 12.0 or above
Microsoft Edge 18.0 or above
Internet Explorer 11.0 or above
As part of our commitment to security, we have discontinued support for TLS 1.0 and TLS 1.1 connections to QMS Audit Pro. This ensures that we establish industry-accepted security standards and that our communications are kept secure with our customers. This also means that any custom integrations with QMS Audit Pro need to support TLS 1.2 or above.
Please note that the following features are required for QMS Audit Pro to function at its full capacity. Disabling any of the following features may result in a suboptimal QMS Audit Pro experience.
JavaScript
QMS Audit Pro utilizes JavaScript extensively for interactive functionality. As most features require JavaScript in QMS Audit Pro, we recommend that it remains enabled at all times. Learn how to enable Javascript in your web browser.
Cookies
Website cookies allow you to stay logged in to QMS Audit Pro and help transfer data between pages on QMS Audit Pro. Learn how to enable cookies in your web browser.
Does QMS Audit Pro allow to add non-conformance video for inspections/audits?
Current production version of Lyons QMS Audit Pro allows addition of non-conformance photos (images) and beta version of Lyons QMS Audit Pro allows addition of non-conformance video. In the next production version of QMS Audit Pro will allow both photos(image) and video.
If a location goes into the system and conducts an audit on one sub-category, then does an audit on another sub-category(while staying logged-in to the same session), how many inspections does that show in the Participants Report?
Audit Product Search Report will show 2 different line-items with each product sub-category under master category.
Participant Report will show total count 2 under master category.
Are there limitations to how many users can log onto QMS Audit Pro if we go to an Azure AD log-in protocol?
There is no limitation on number of users with Azure AD log-in protocol.
Even if user has Azure login credentials, user needs to be part of QMS Audit Pro database. This way not everyone with Azure AD authentication can login into QMS Audit Pro.
How do I find the latest version of the Lyons QMS Audit Pro app and upgrade?
You can find the latest versions of the QMS Audit Pro apps by visiting your phone's app store (example: App Store, Google Play). From here, you can see what's new with the app and install the latest version.
Download/Install or Reinstall or Delete QMS Audit Pro on your Apple device
Download QMS Audit Pro from the Apple App Store
Use the App Store to find, purchase, and download QMS Audit Pro apps on your Apple device.
You can browse and obtain QMS Audit Pro apps in the App Store on your iPhone, iPad, iPod touch, on your Apple Watch, on your Mac.
Browse and Get
To download and obtain QMS Audit Pro apps from the App Store, you need an Apple ID. Your Apple ID is the account that you use to access Apple services. If you use other Apple services like iCloud, sign in to the App Store with the same Apple ID. If you don't have an Apple ID, you can create one.
If you're in the App Store on any of your devices and see the download button near QMS Audit Pro app, you already downloaded QMS Audit Pro app. When you tap or click the download button , the QMS Audit Pro app downloads to your device again. You can also see a list of apps that you have and redownload them.
You can also create an Apple ID without a payment method when you download a free app.
How to get QMS Audit Pro apps on your iPhone, iPad, or iPod touch
- Tap the App Store app on your Home screen.
- Browse or search for the QMS Audit Pro app, then tap the QMS Audit Pro app.
- Tap Get. You might need to sign in with your Apple ID.
After your QMS Audit Pro app finishes downloading, you can move it to a different spot on your Home screen. QMS Audit Pro Apps stay up-to-date by default, but you can learn more about updating apps.
Get information about QMS Audit Pro app
If you want to know specific information about an app, like what languages the app is available in, the app’s file size, or its compatibility with other Apple devices, scroll to the bottom of an QMS Audit Pro app’s page. You might be able to tap some sections to learn more.
You can also contact the QMS Audit Pro app developer for help with an app's functionality.
To Reinstall the QMS Audit Pro app
- iPhone, iPad, iPod touch: Open the Settings app. Tap General, then tap iPhone Storage (or iPad Storage). Tap the QMS Audit Pro app, then tap Offload app. Tap Offload app again. Wait a moment for the QMS Audit Pro app to offload, then tap Reinstall App.
How to delete QMS Audit Pro apps on your iPhone, iPad, and iPod touch
Delete QMS Audit Pro app
- Touch and hold the QMS Audit Pro app.
- Tap Delete App.
- Tap Delete.
If you delete an QMS Audit Pro app, you don't automatically cancel subscriptions that you might have subscribed to.
Download/Install or Reinstall or Delete QMS Audit Pro on your Android device
Download QMS Audit Pro Apps to your Android device
You can download free and paid QMS Audit Pro Apps from Google Play on your Android phone. We recommend that you get QMS Audit Pro Apps from Google Play, but you can also get them from other sources.
Important: Some of these steps work only on Android 8.0 and up. Learn how to check your Android version.
Download QMS Audit Pro Apps from Google Play
- Open Google Play.
- On your phone, use the Play Store App .
- On your computer, go to play.google.com.
- Find an QMS Audit Pro App.
- When you pick an QMS Audit Pro App, tap Install.
Reinstall QMS Audit Pro & re-enable QMS Audit Pro apps
You can use QMS Audit Pro apps on Google Play on any Android device. However, each device must have the same Google Account on it. You can:
- Install an app on more than one Android device
- Install an app on a new Android device
- Reinstall an app you bought but deleted
Also, if you turned off an app that came with your device, you can turn it back on.
To Reinstall QMS Audit Pro apps or turn QMS Audit Pro apps back on
- On your Android phone or tablet, open Google Play Store .
- Tap Menu My apps & games Library.
- Tap the QMS Audit Pro app to install or turn on.
- Tap Install or Enable.
Delete QMS Audit Pro or disable QMS Audit Pro apps on Android
You can uninstall QMS Audit Pro apps you've installed on your phone. If you remove an app, you can reinstall it later.
Note: Some of these steps work only on Android 8.1 and up. Learn how to check your Android version.
Delete QMS Audit Pro apps that you installed
- Open the Google Play Store app .
- Tap Menu My apps & games.
- Tap on the QMS Audit Pro app.
- Tap Uninstall.
Tip: If you delete or disable QMS Audit Pro app, you can add it back to your phone.
Android: How do I add Picture for QMS Audit Pro Non-Conformance?
Android: How do I add Picture for QMS Audit Pro Audit Non-Conformance?
When you install an QMS Audit Pro app from Google Play on a device running Android 6.0 and up or on a Chromebook, you control which capabilities or information that QMS Audit Pro app can access—known as permissions.
Make sure QMS Audit Pro has camera permission for your Android phone.
Check to see if Camera permissions have been disabled. To check QMS Audit Pro permissions:
- On your Android device, open the Settings app .
- Tap Apps (or Apps & Notifications).
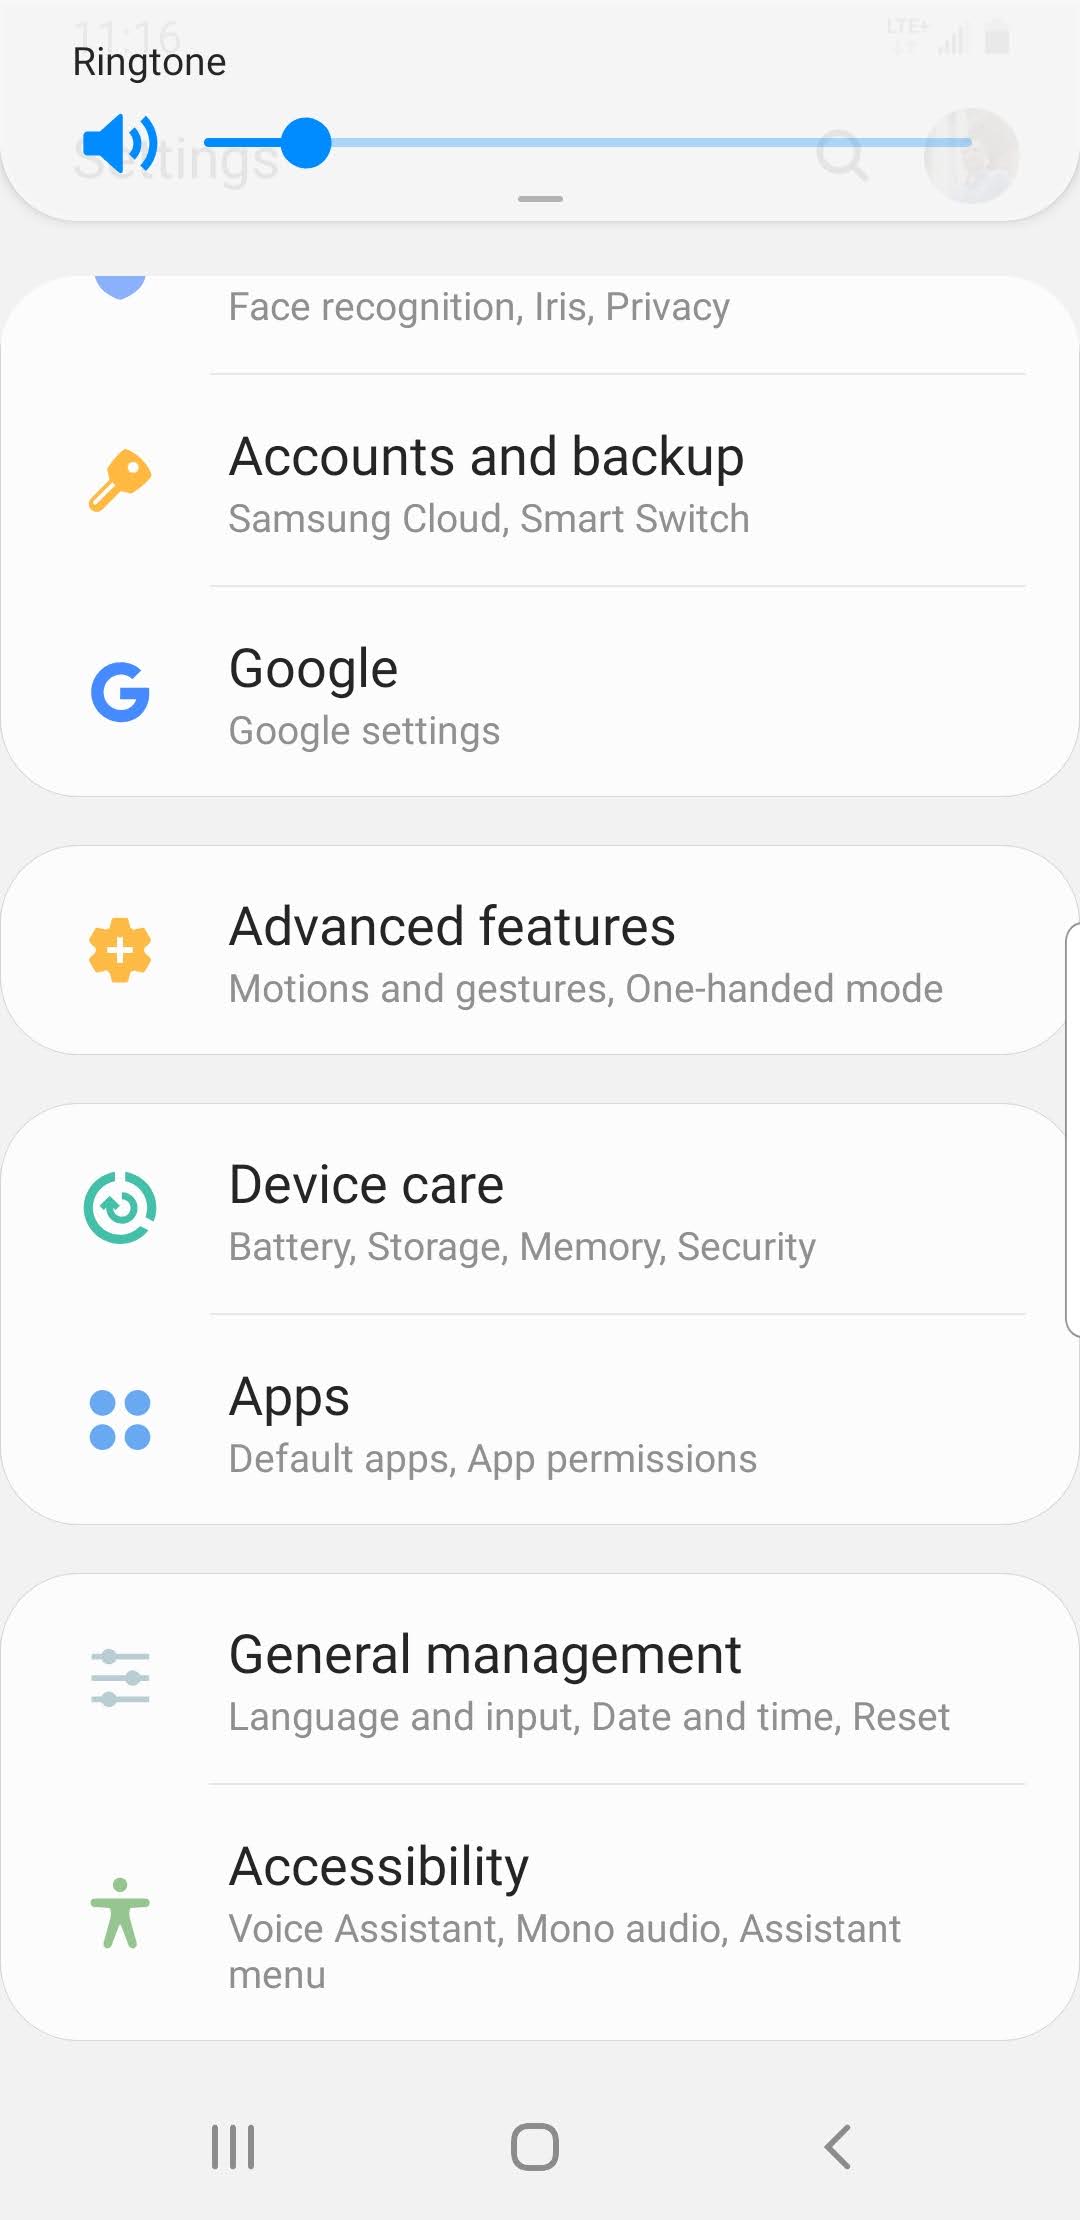
- Tap the QMS Audit Pro.
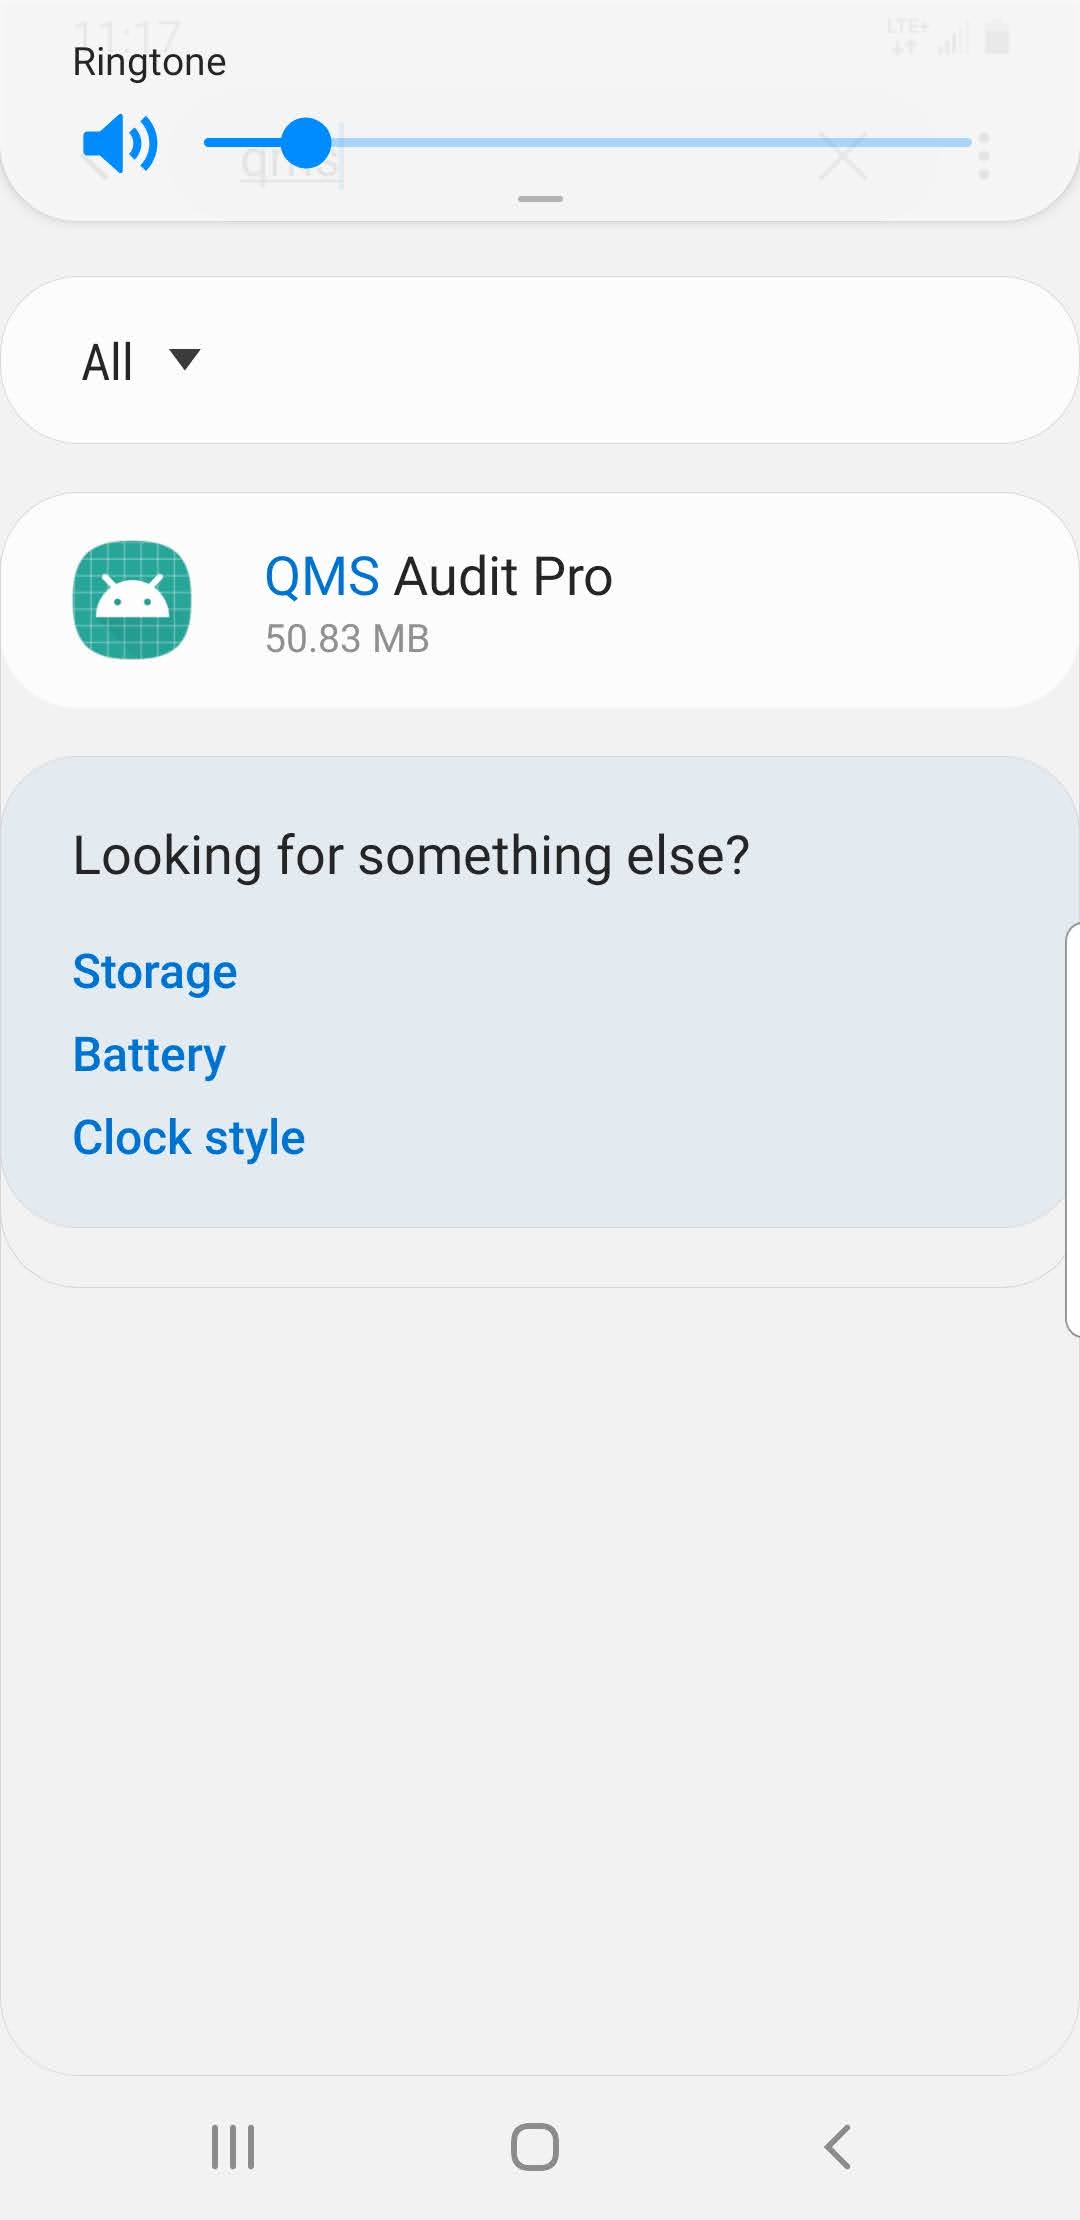
- Tap Permissions. If a permission is turned off, the switch next to it will be gray.
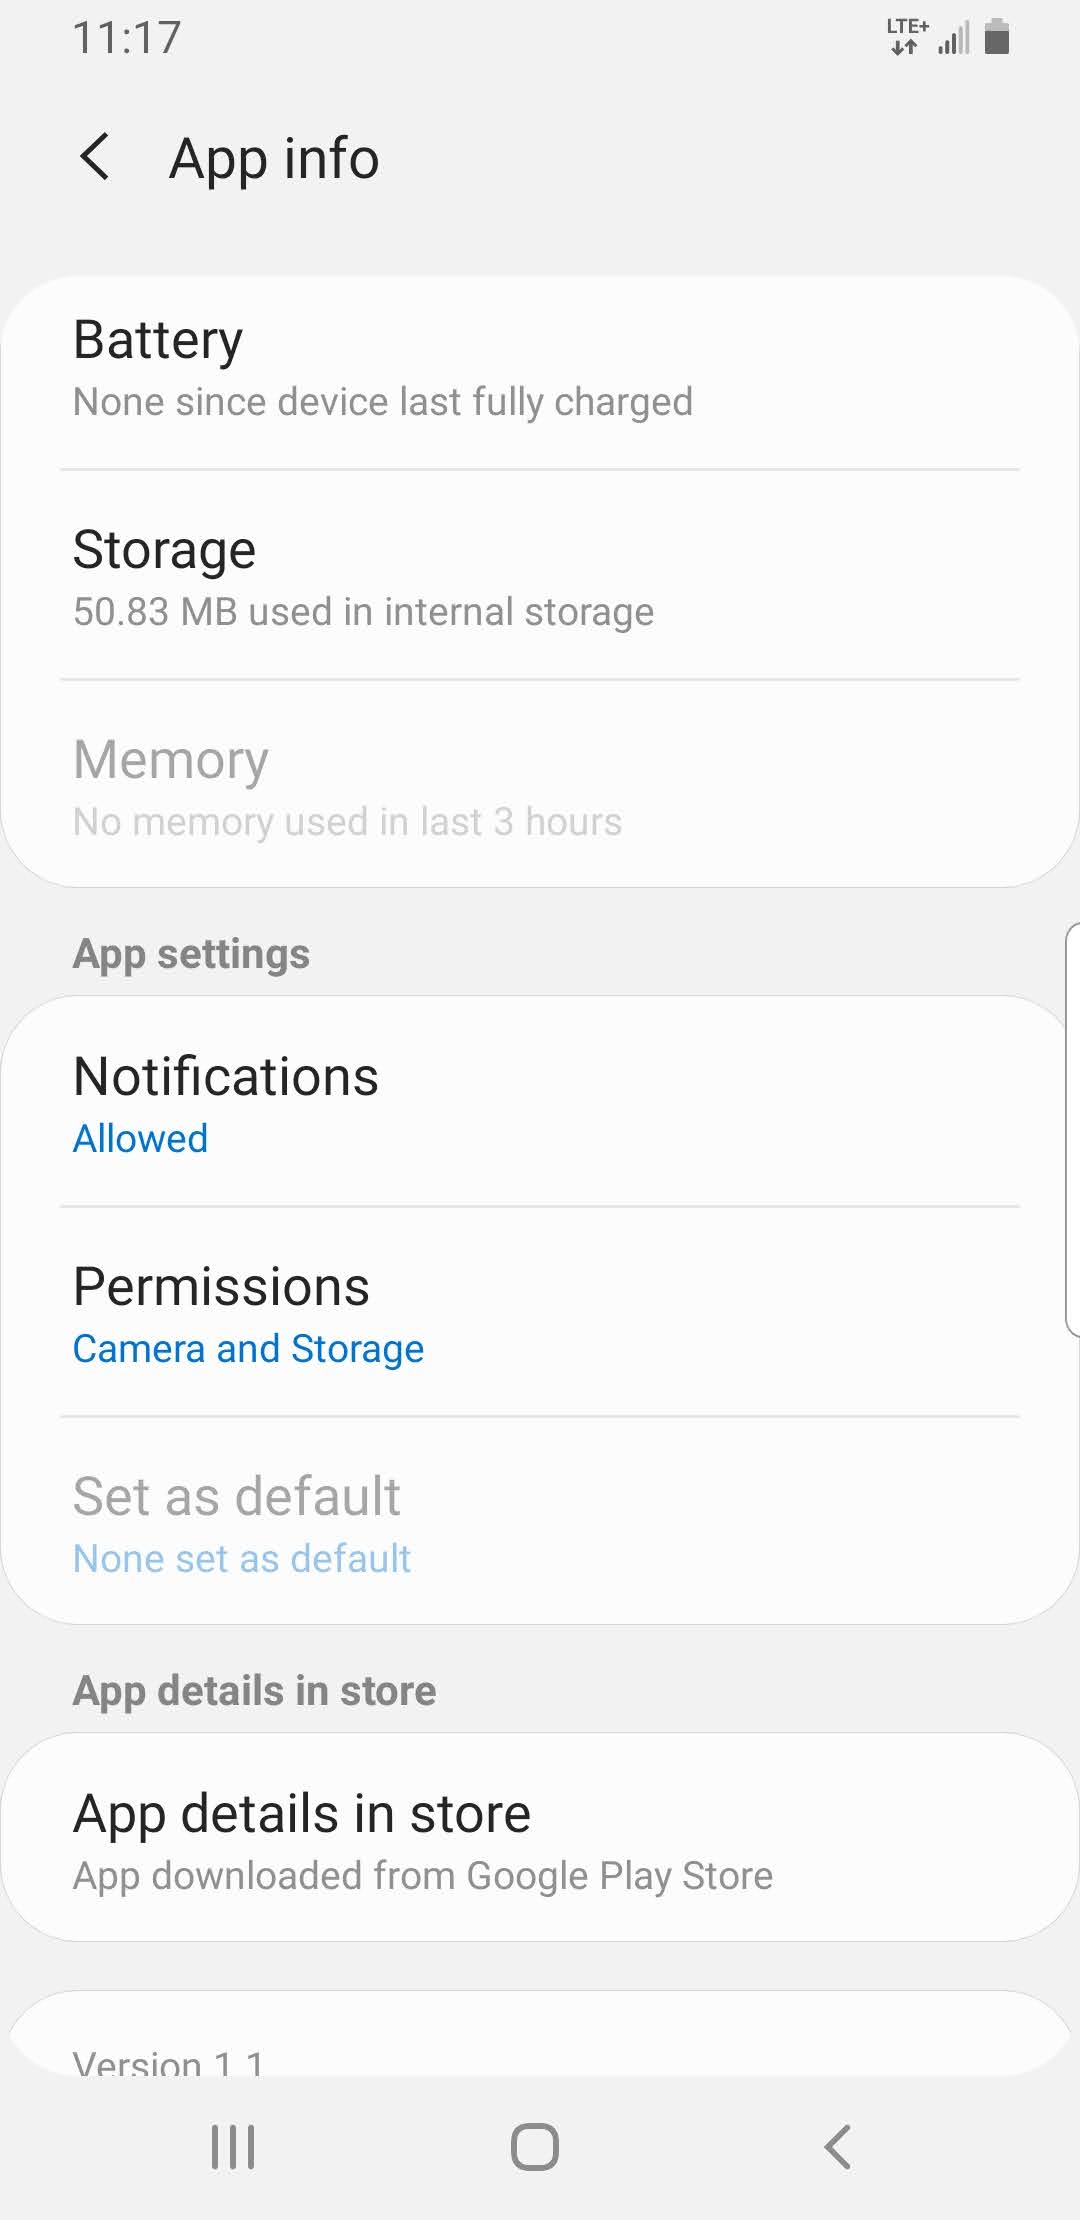
- You can consider turning Camera permissions on to see if that resolves your issue. To turn a permission on, tap the permission.
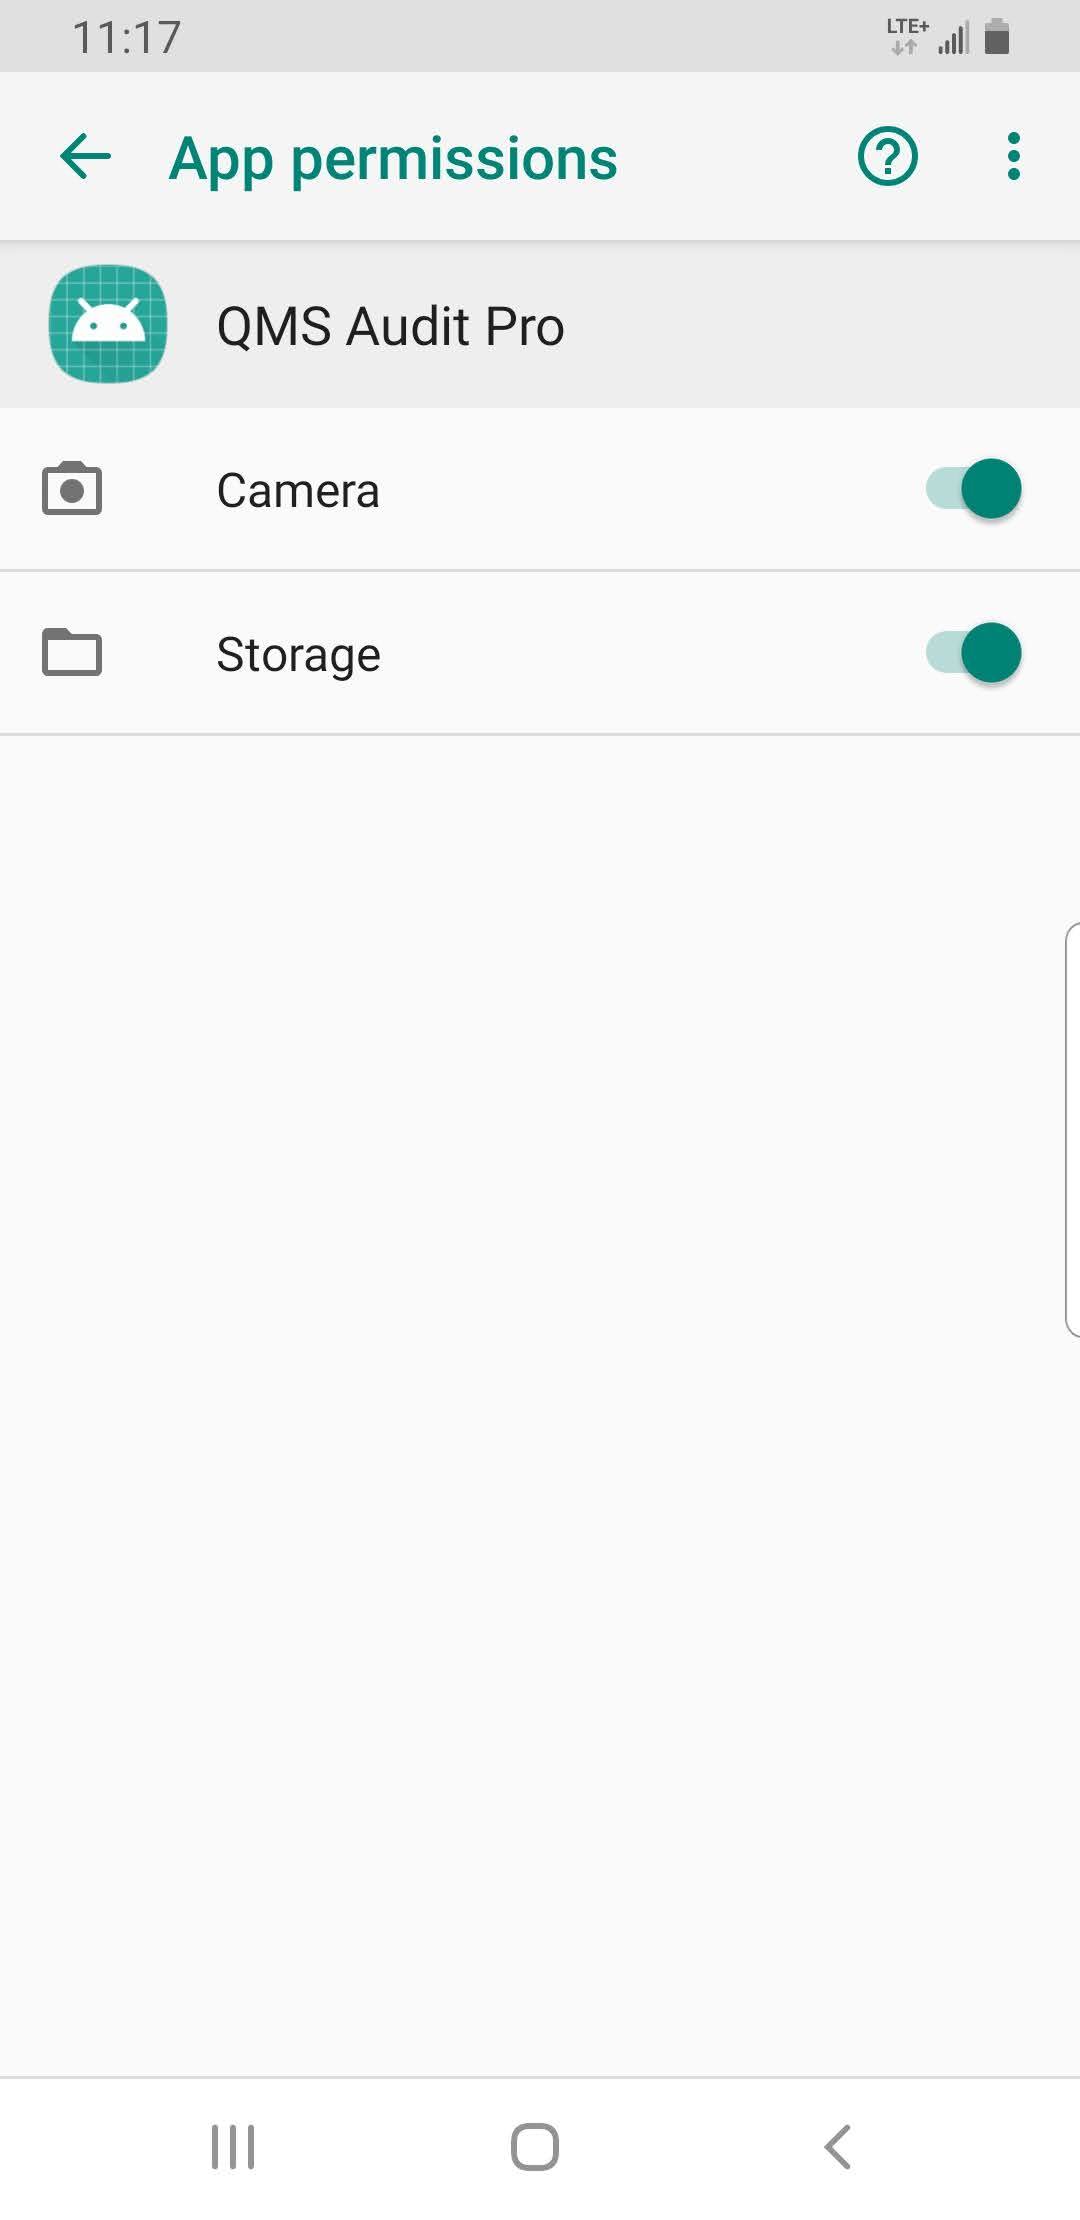
- Try using the QMS Audit Pro again.
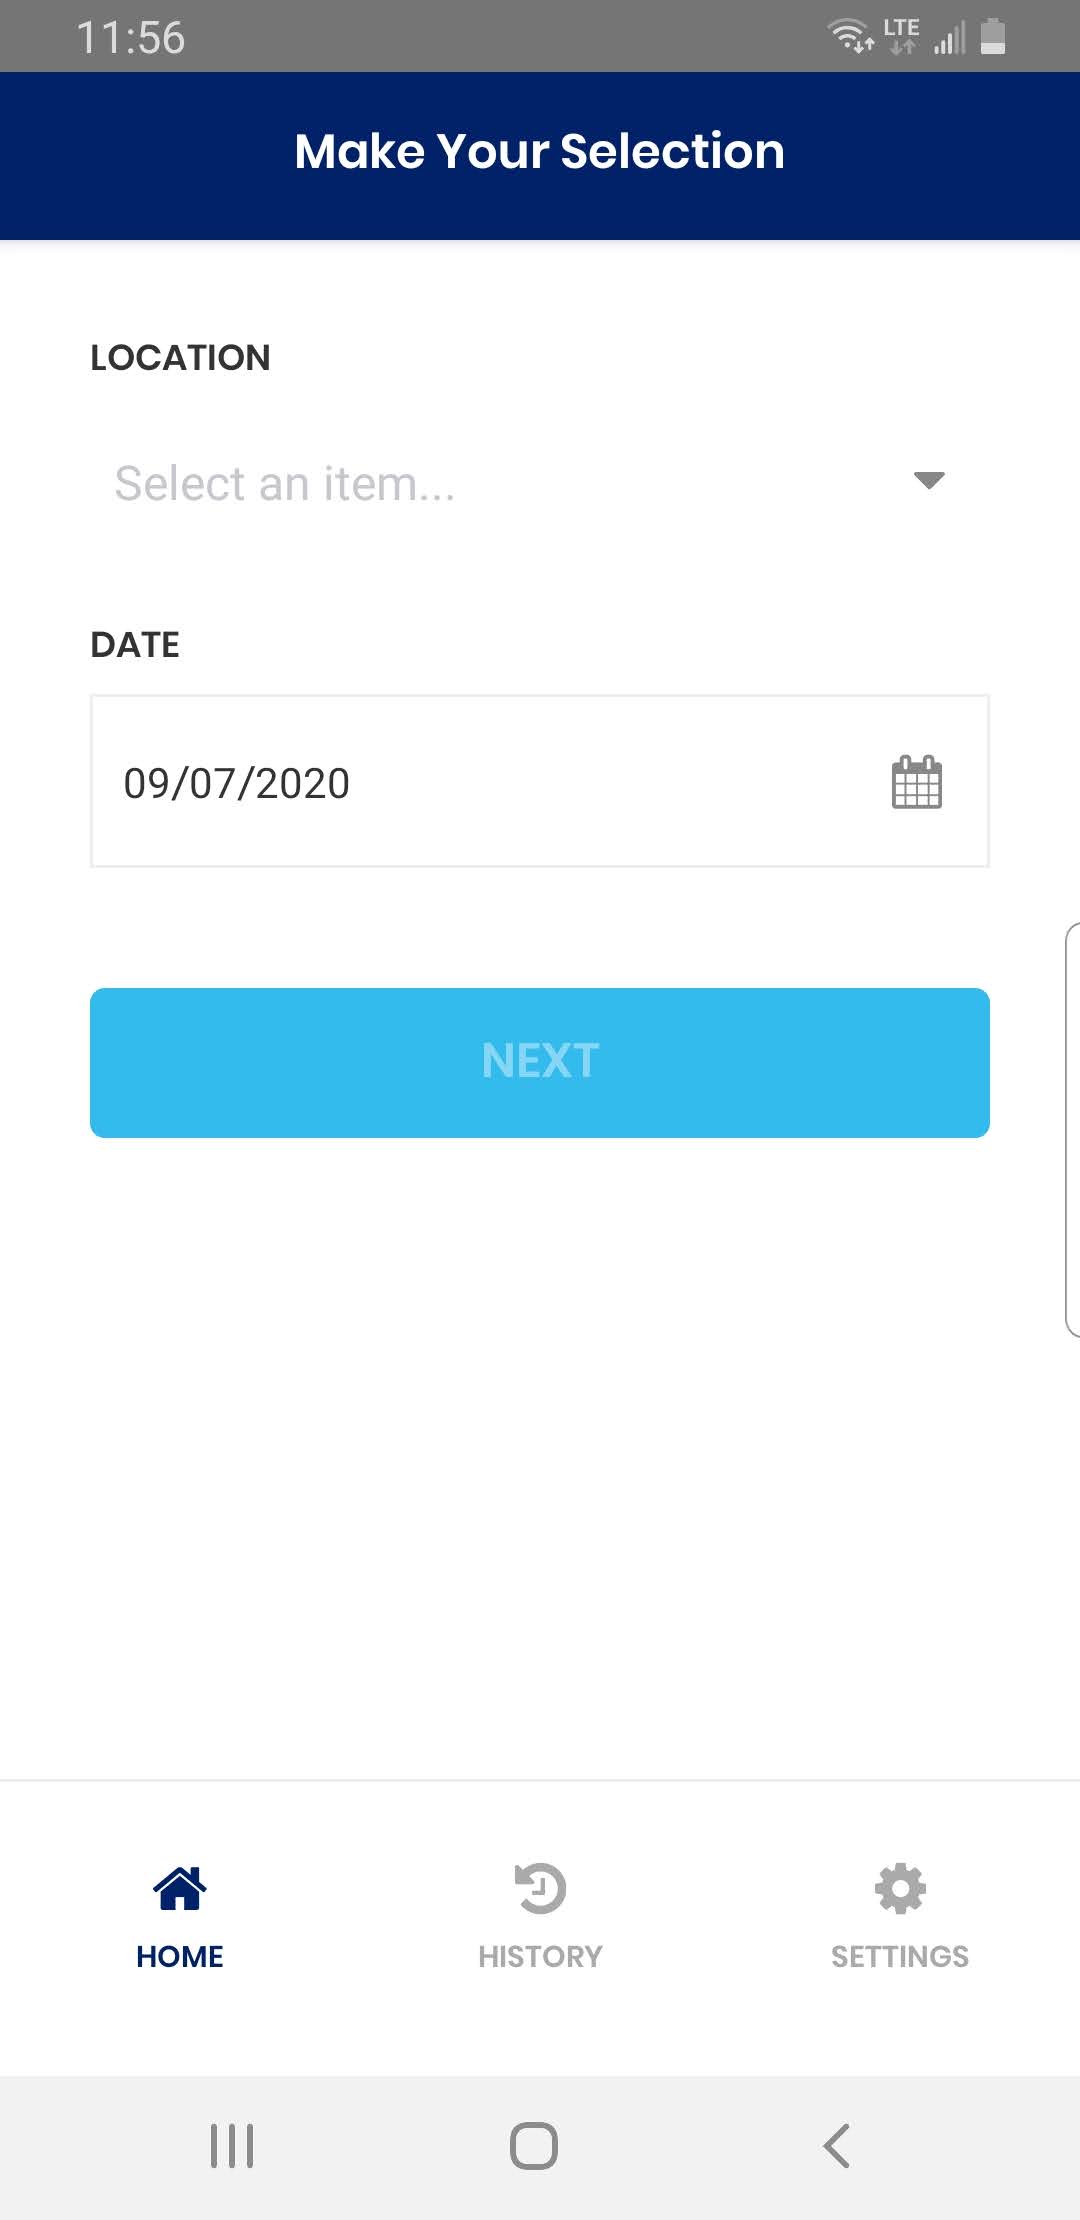
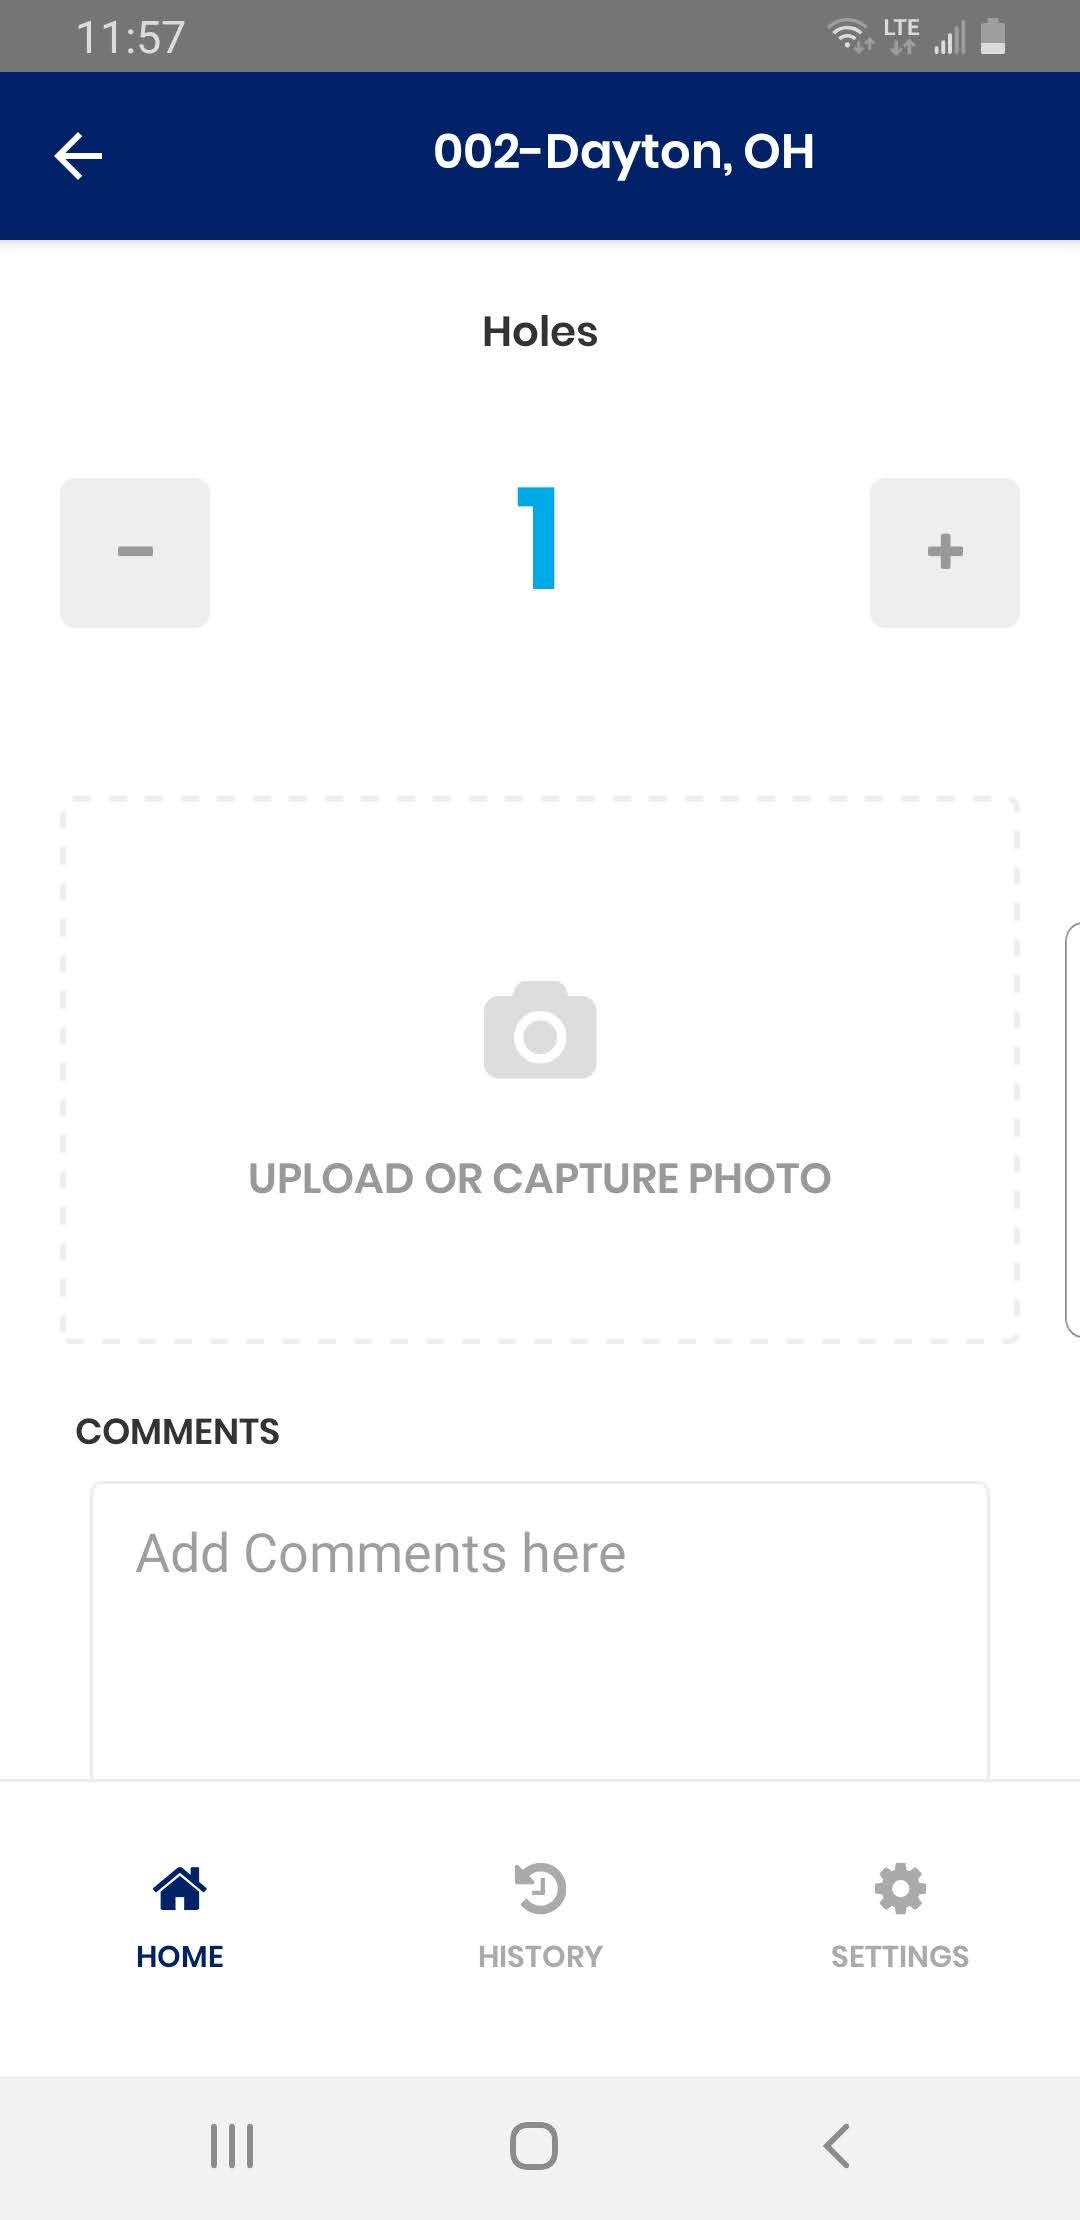
1. Select Location for an Audit
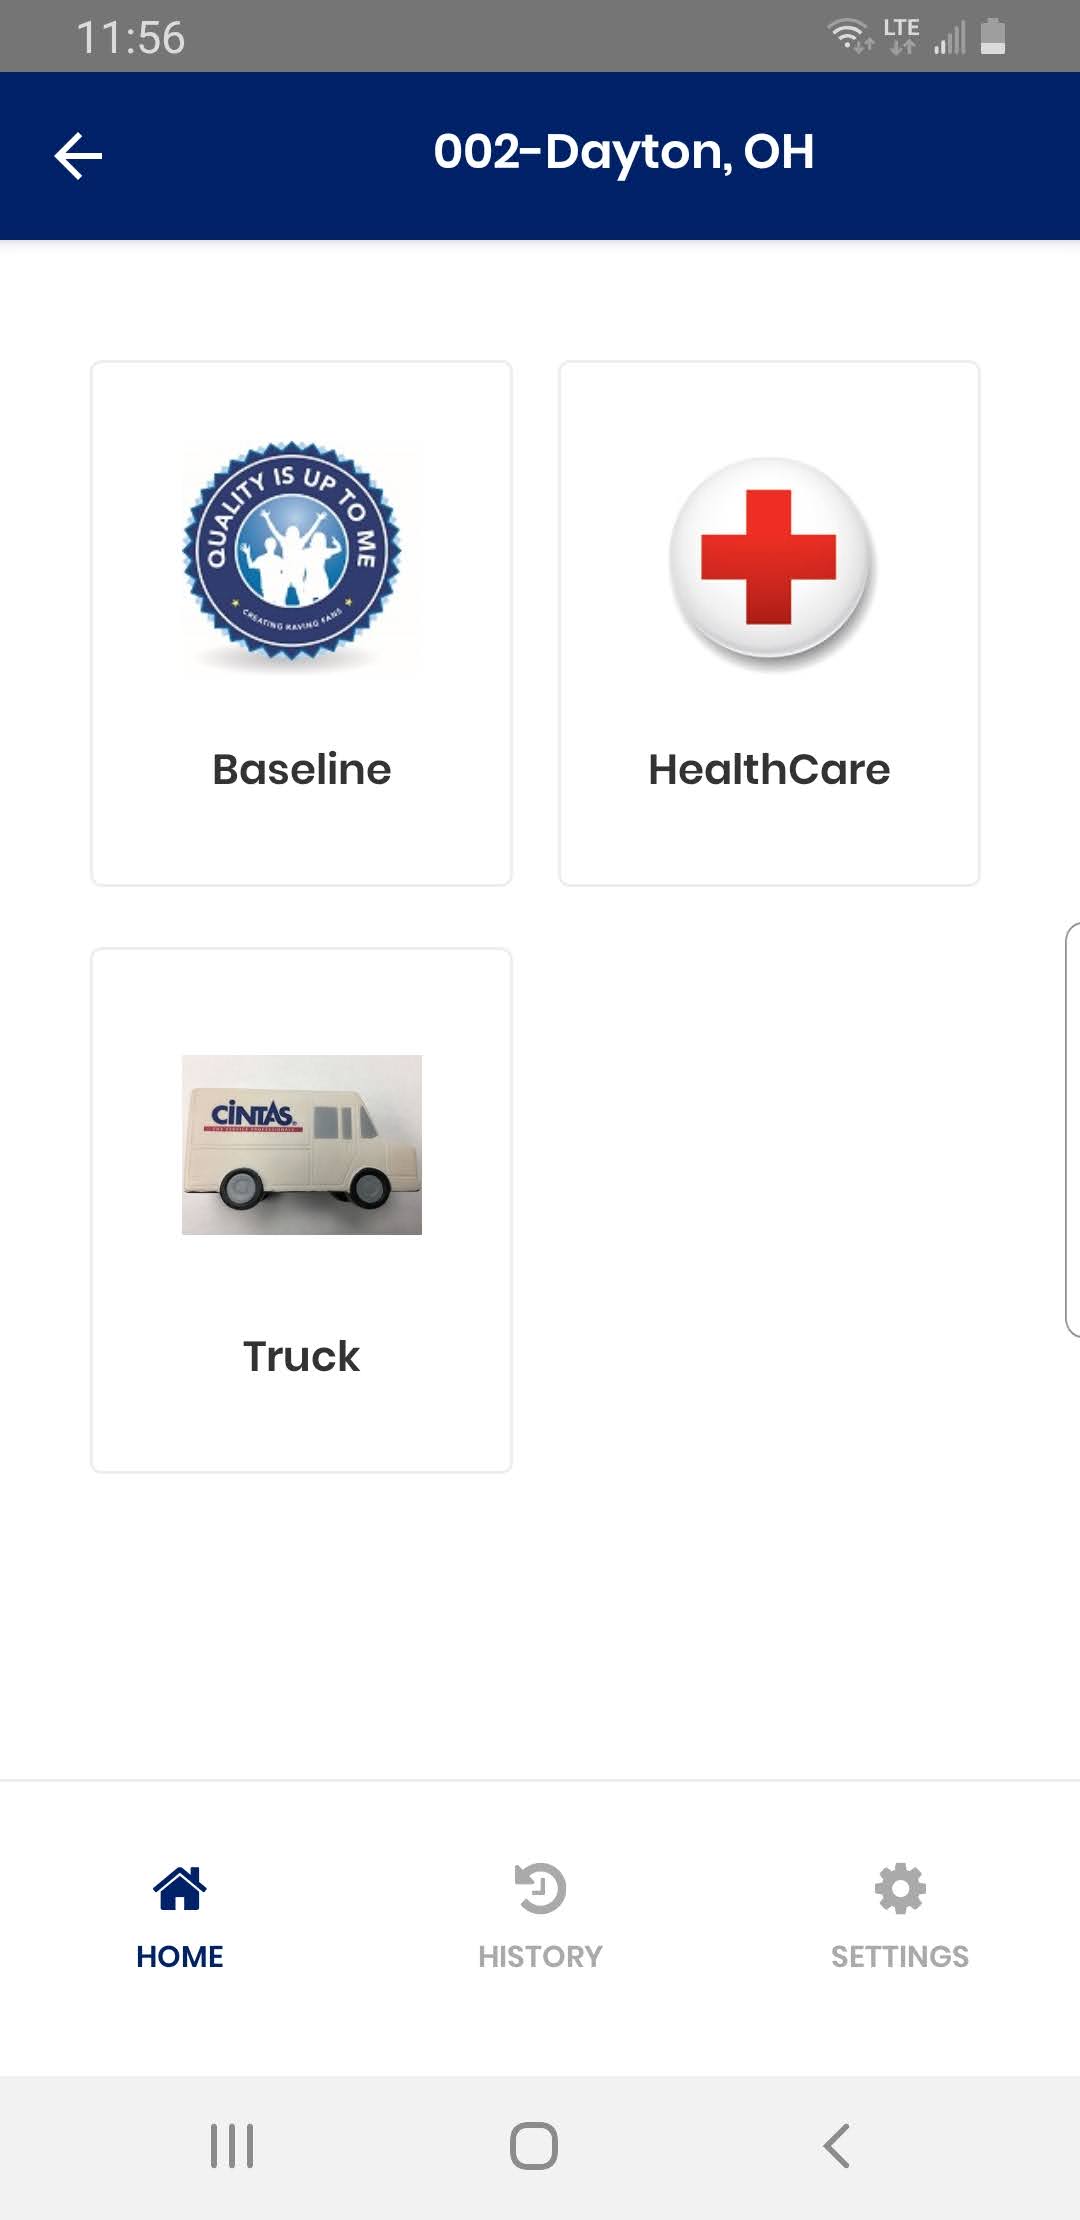
2. Select Audit Category
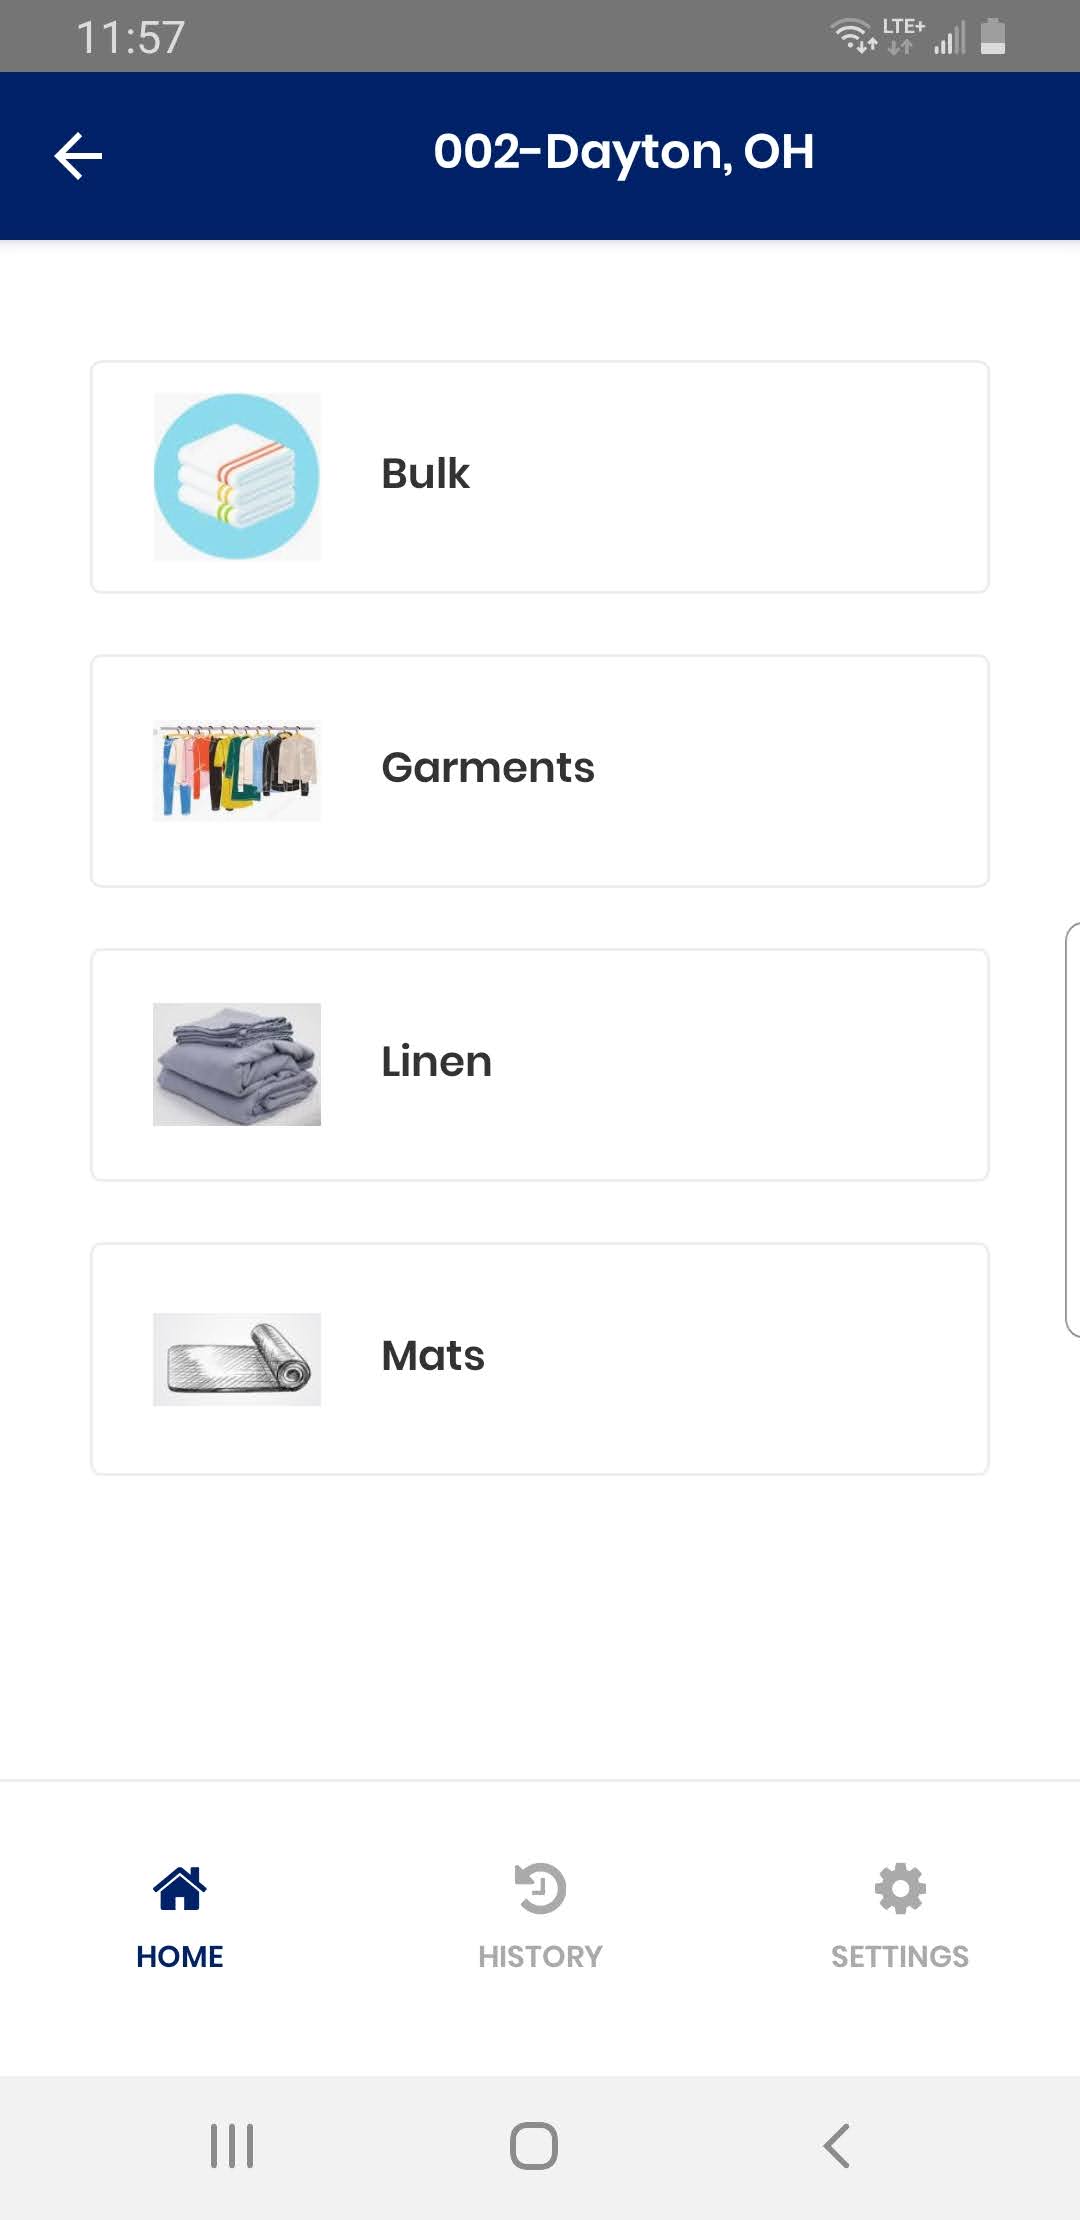
3. Select Audit Sub Category
4. Select Audit area

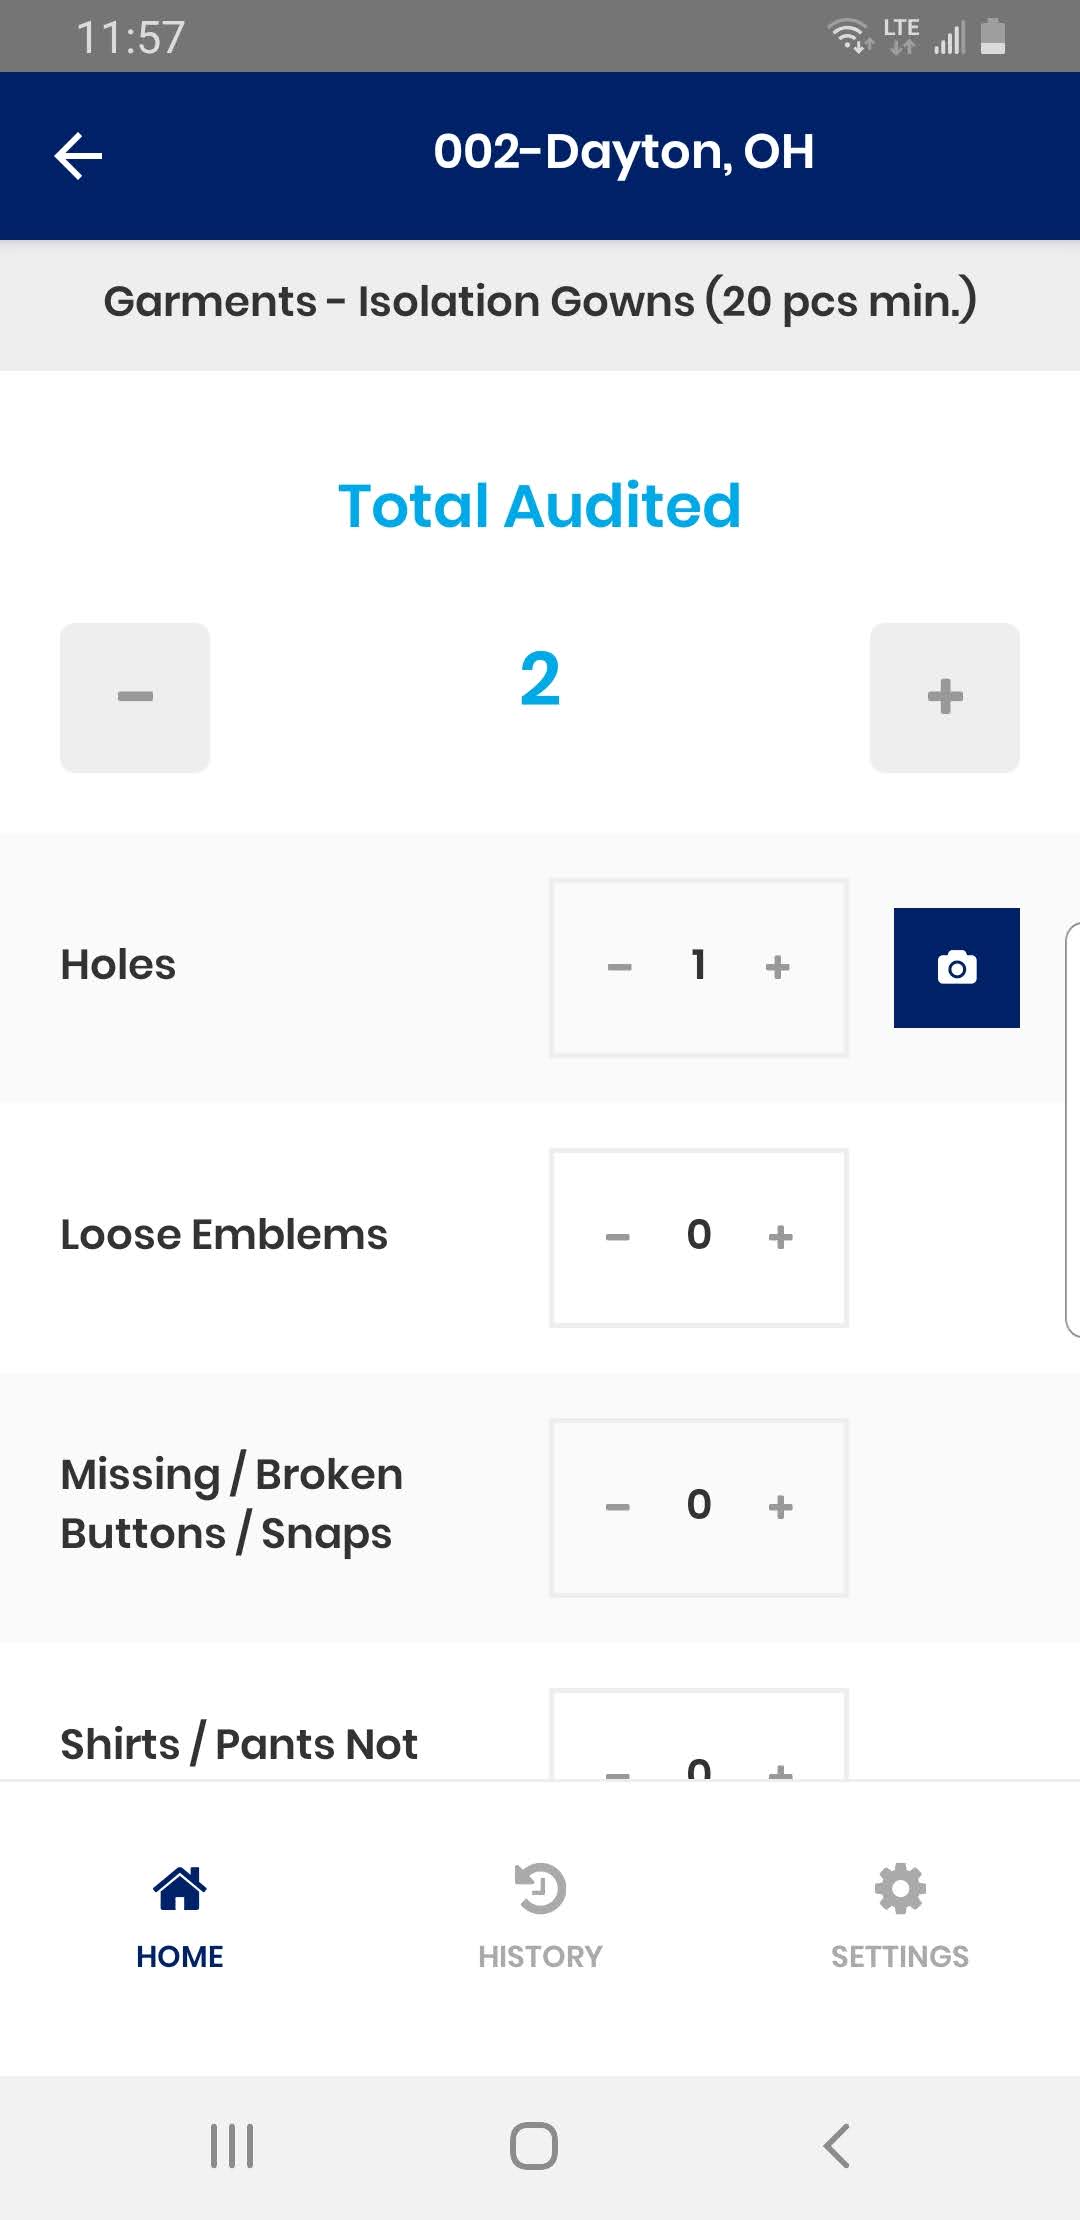
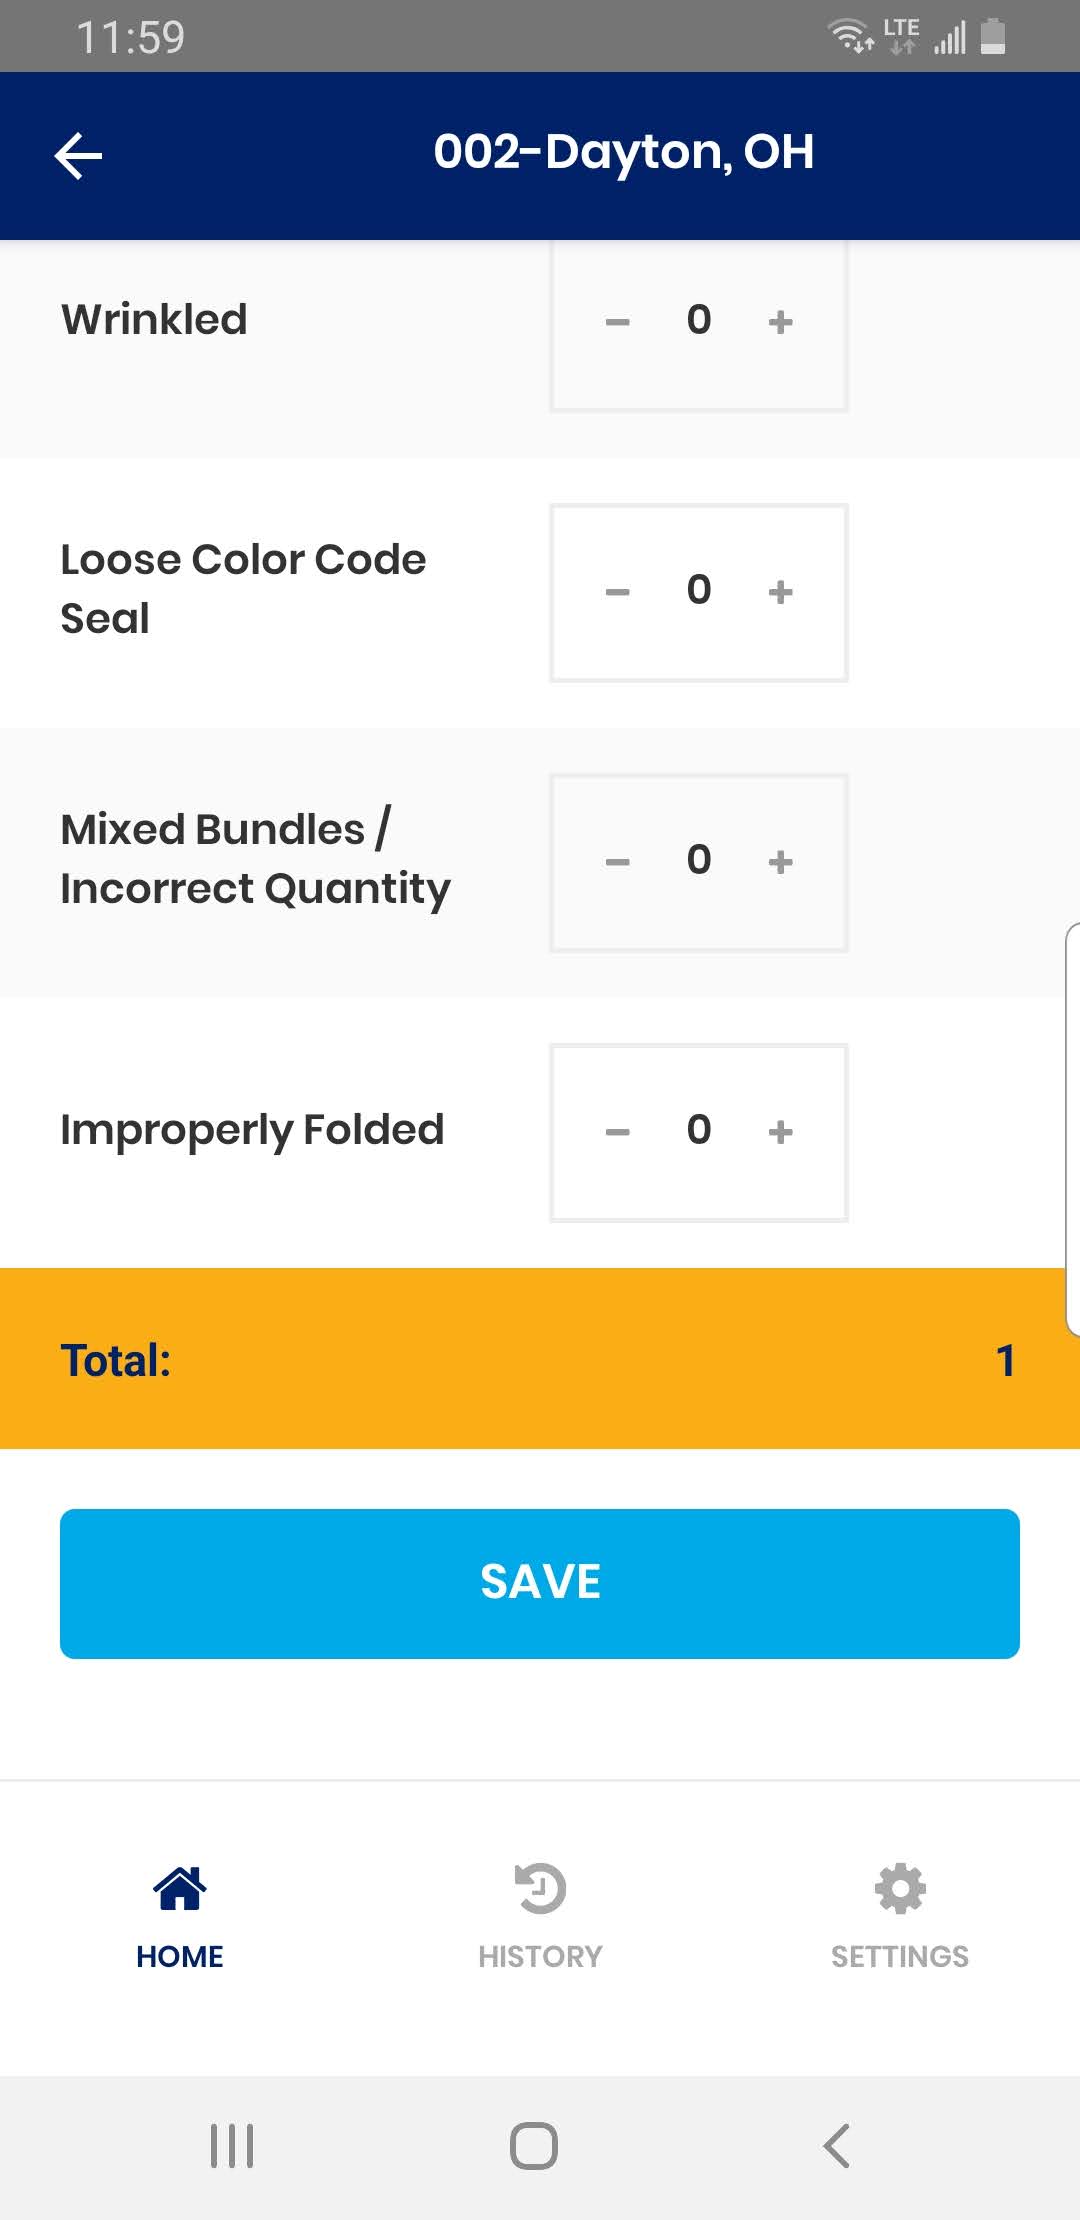
5. Provide Audit information including Total Audited and Non-Conformance
6. Click on Camera Icon next to Audit item.
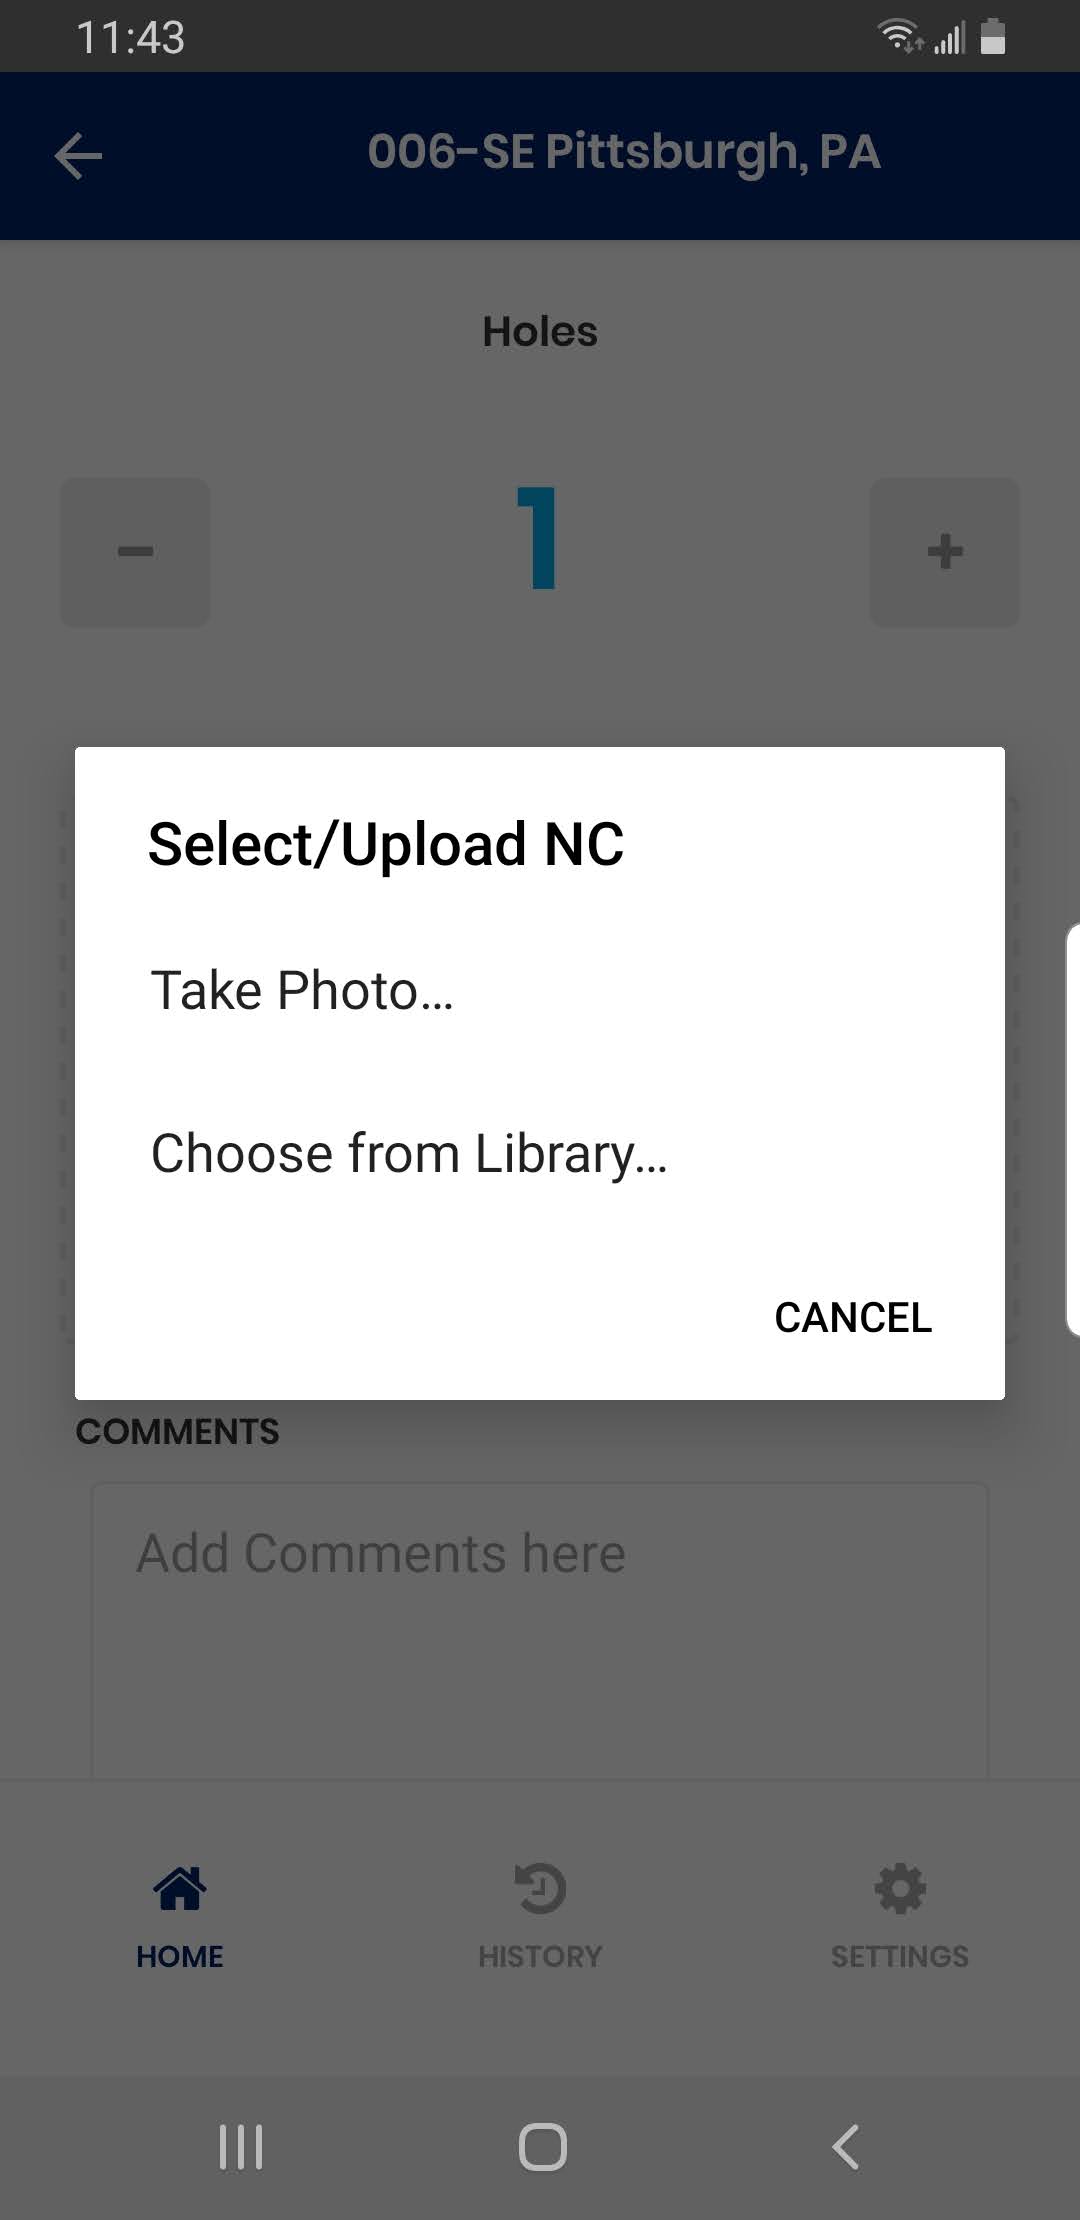
7. Click on Upload Or Capture Photo. To take picture using Phone Camera, select “Take Photo…”. To utilize previously taken picture, select “Choose from Library…”.
8. After selecting “Take photo”, Take picture by clicking on Camera big circle button in the center

9. Once picture is captured, you can review picture. Click Retry to retake the picture or OK to confirm.

10. Once picture is taken, it will appear below the non-conformance. You can add additional pictures by taking same steps.
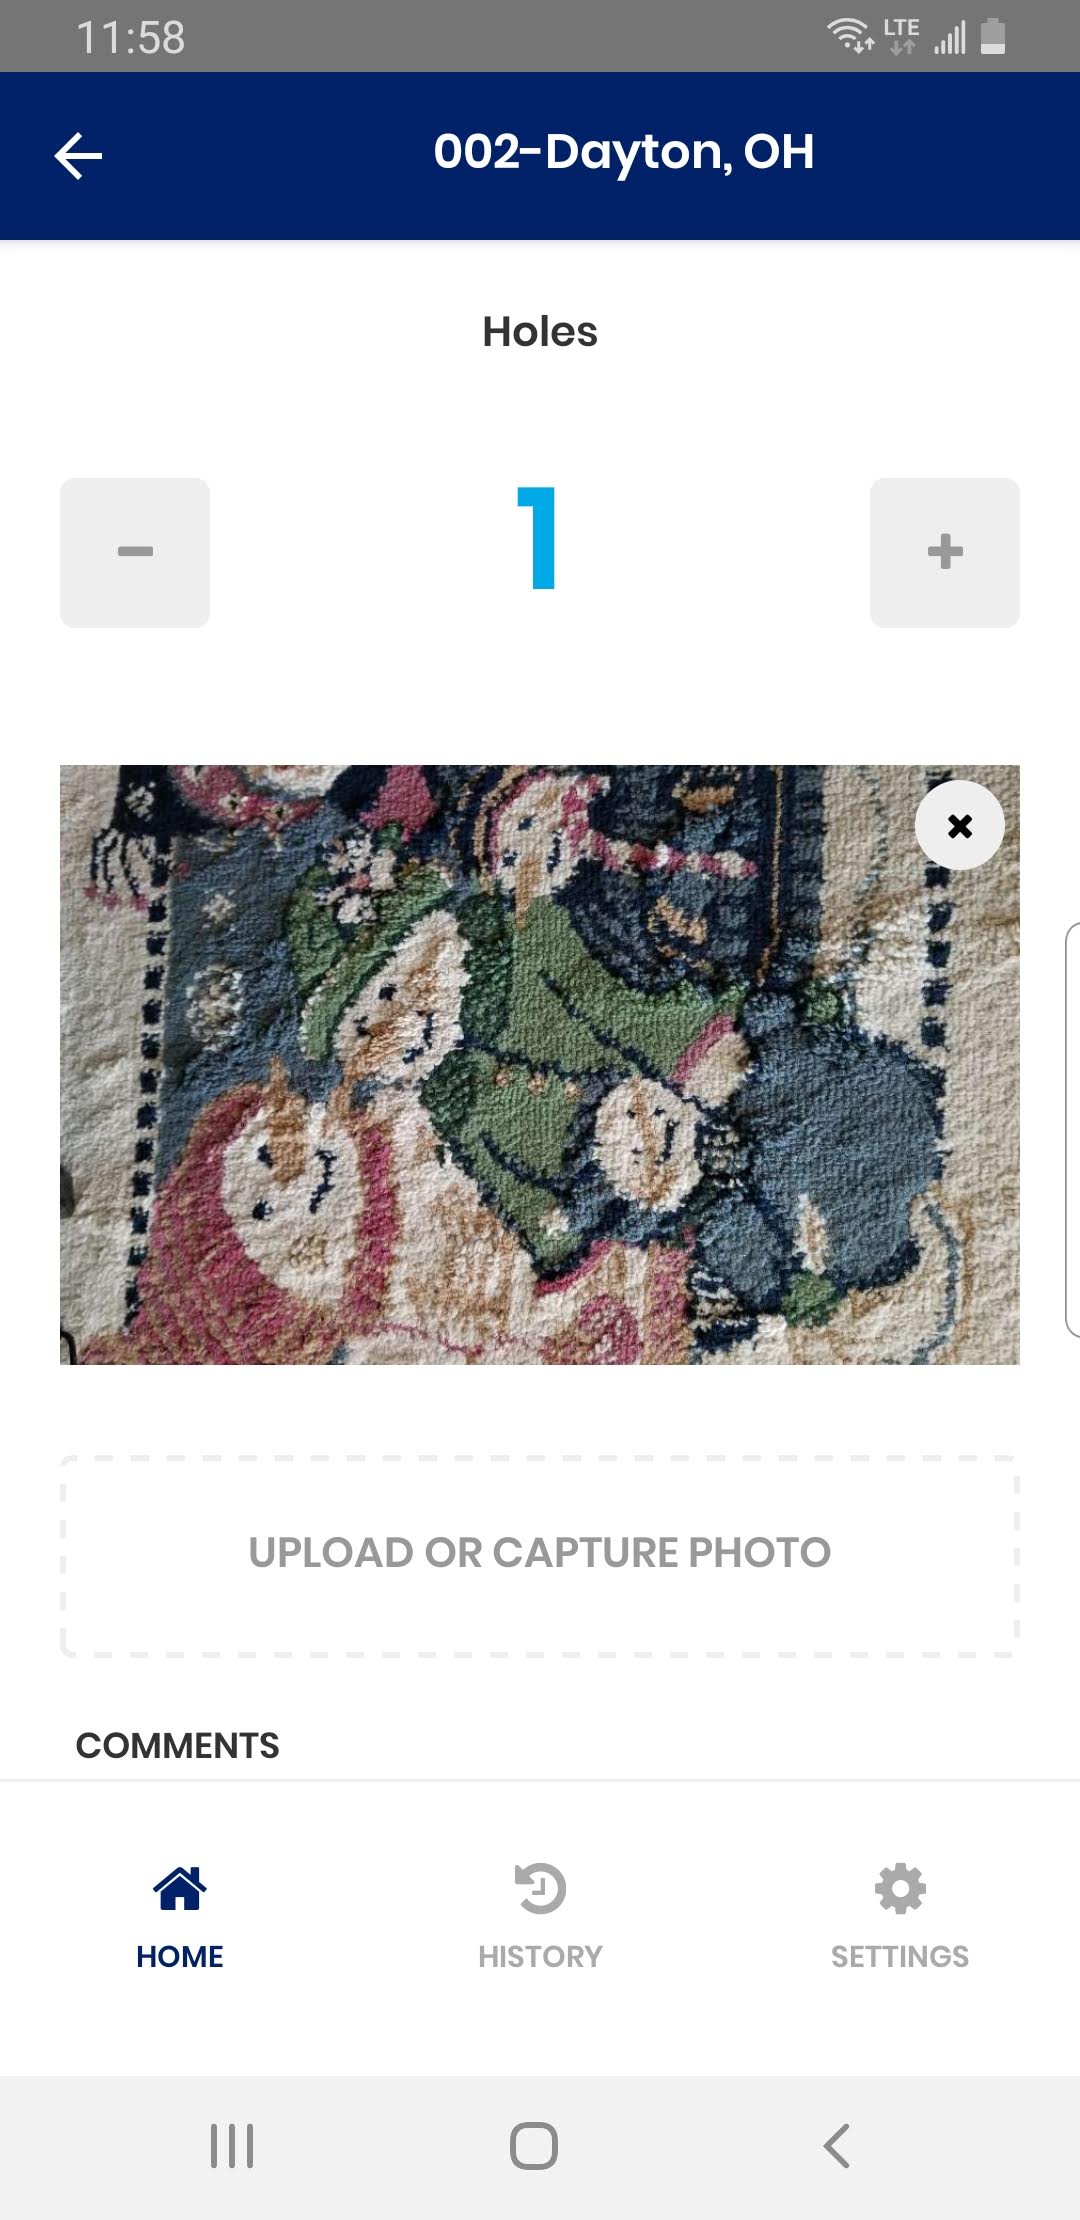
11. You can add comments related to pictures, by entering details in Comments section.
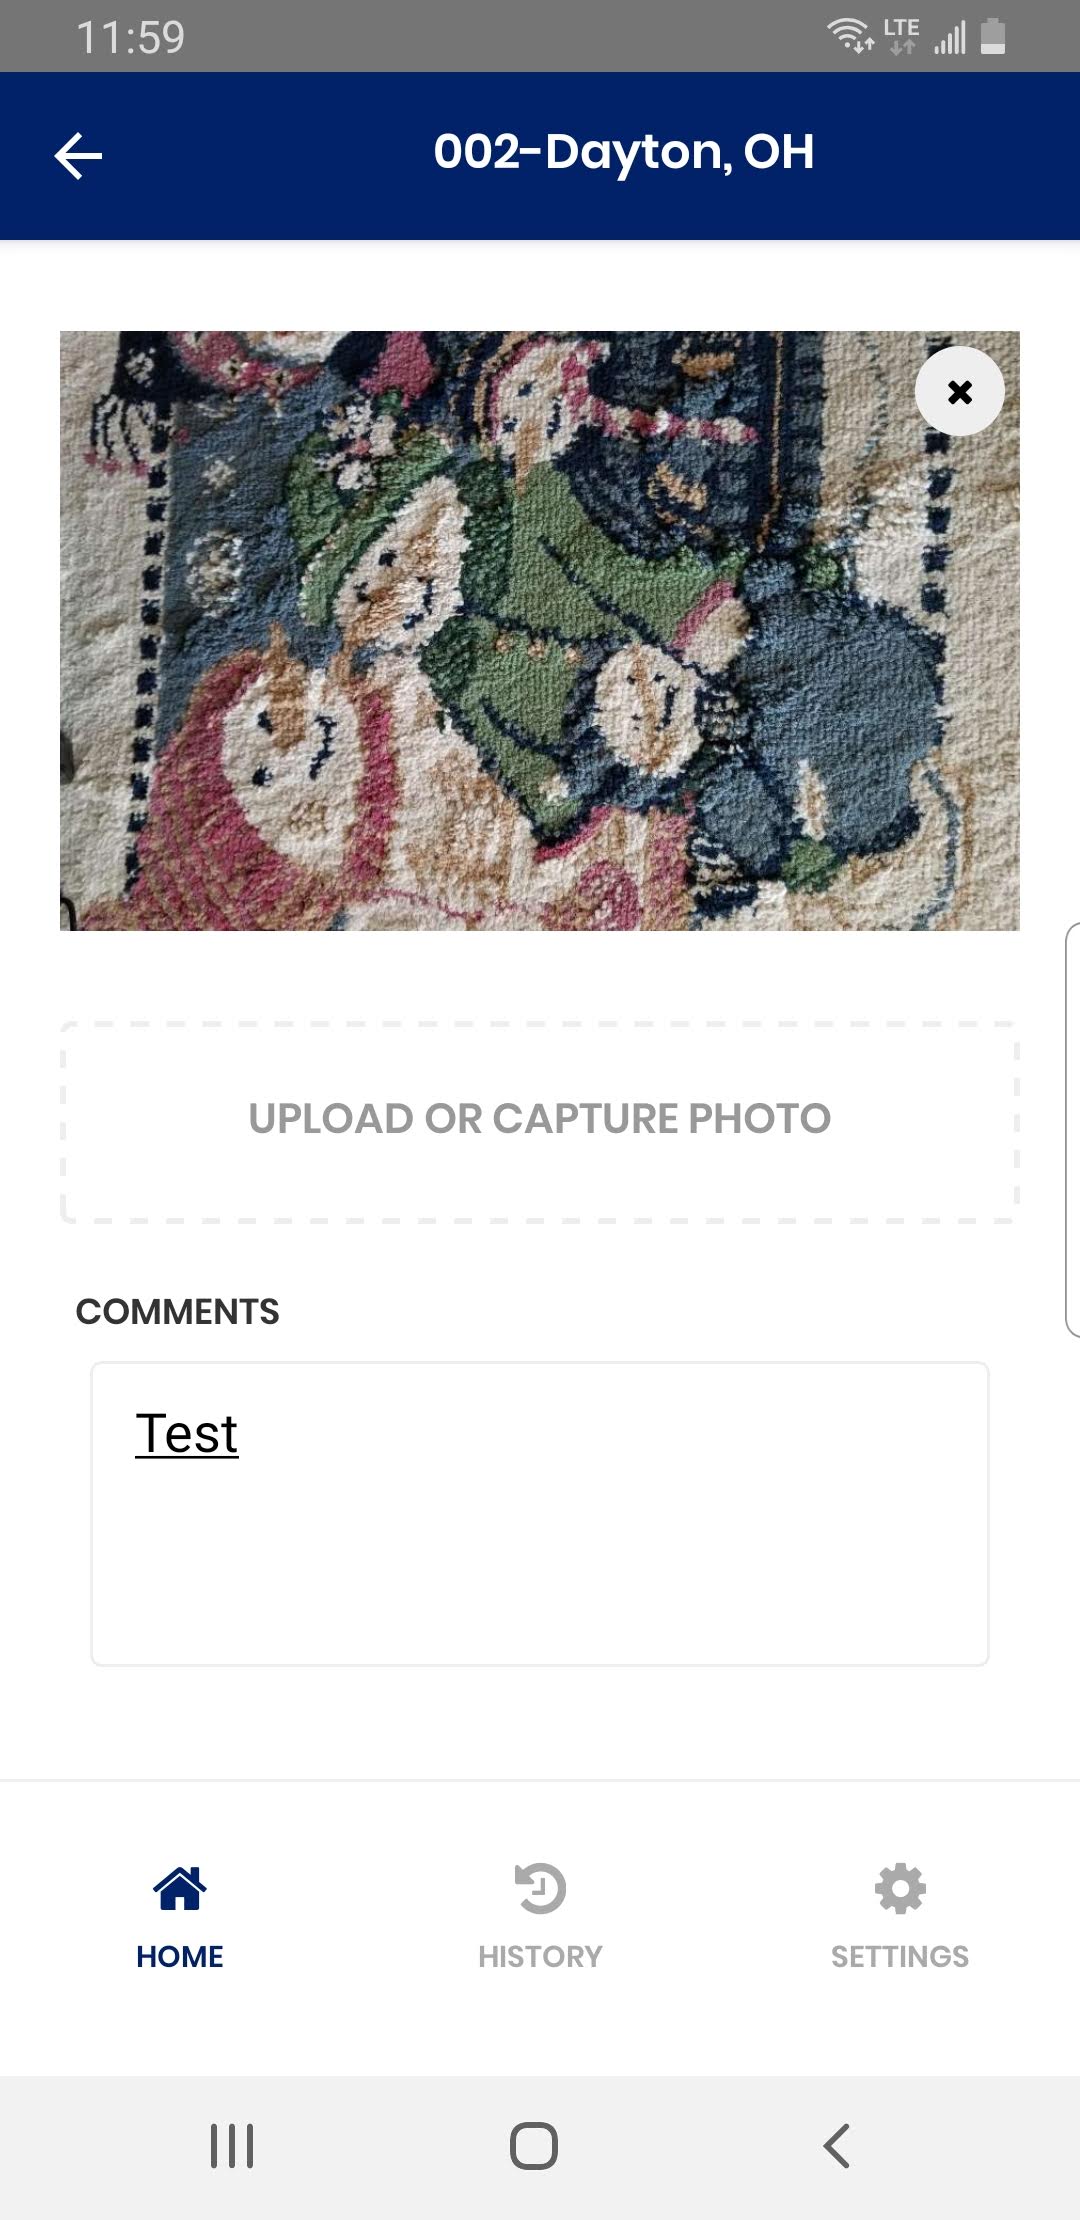
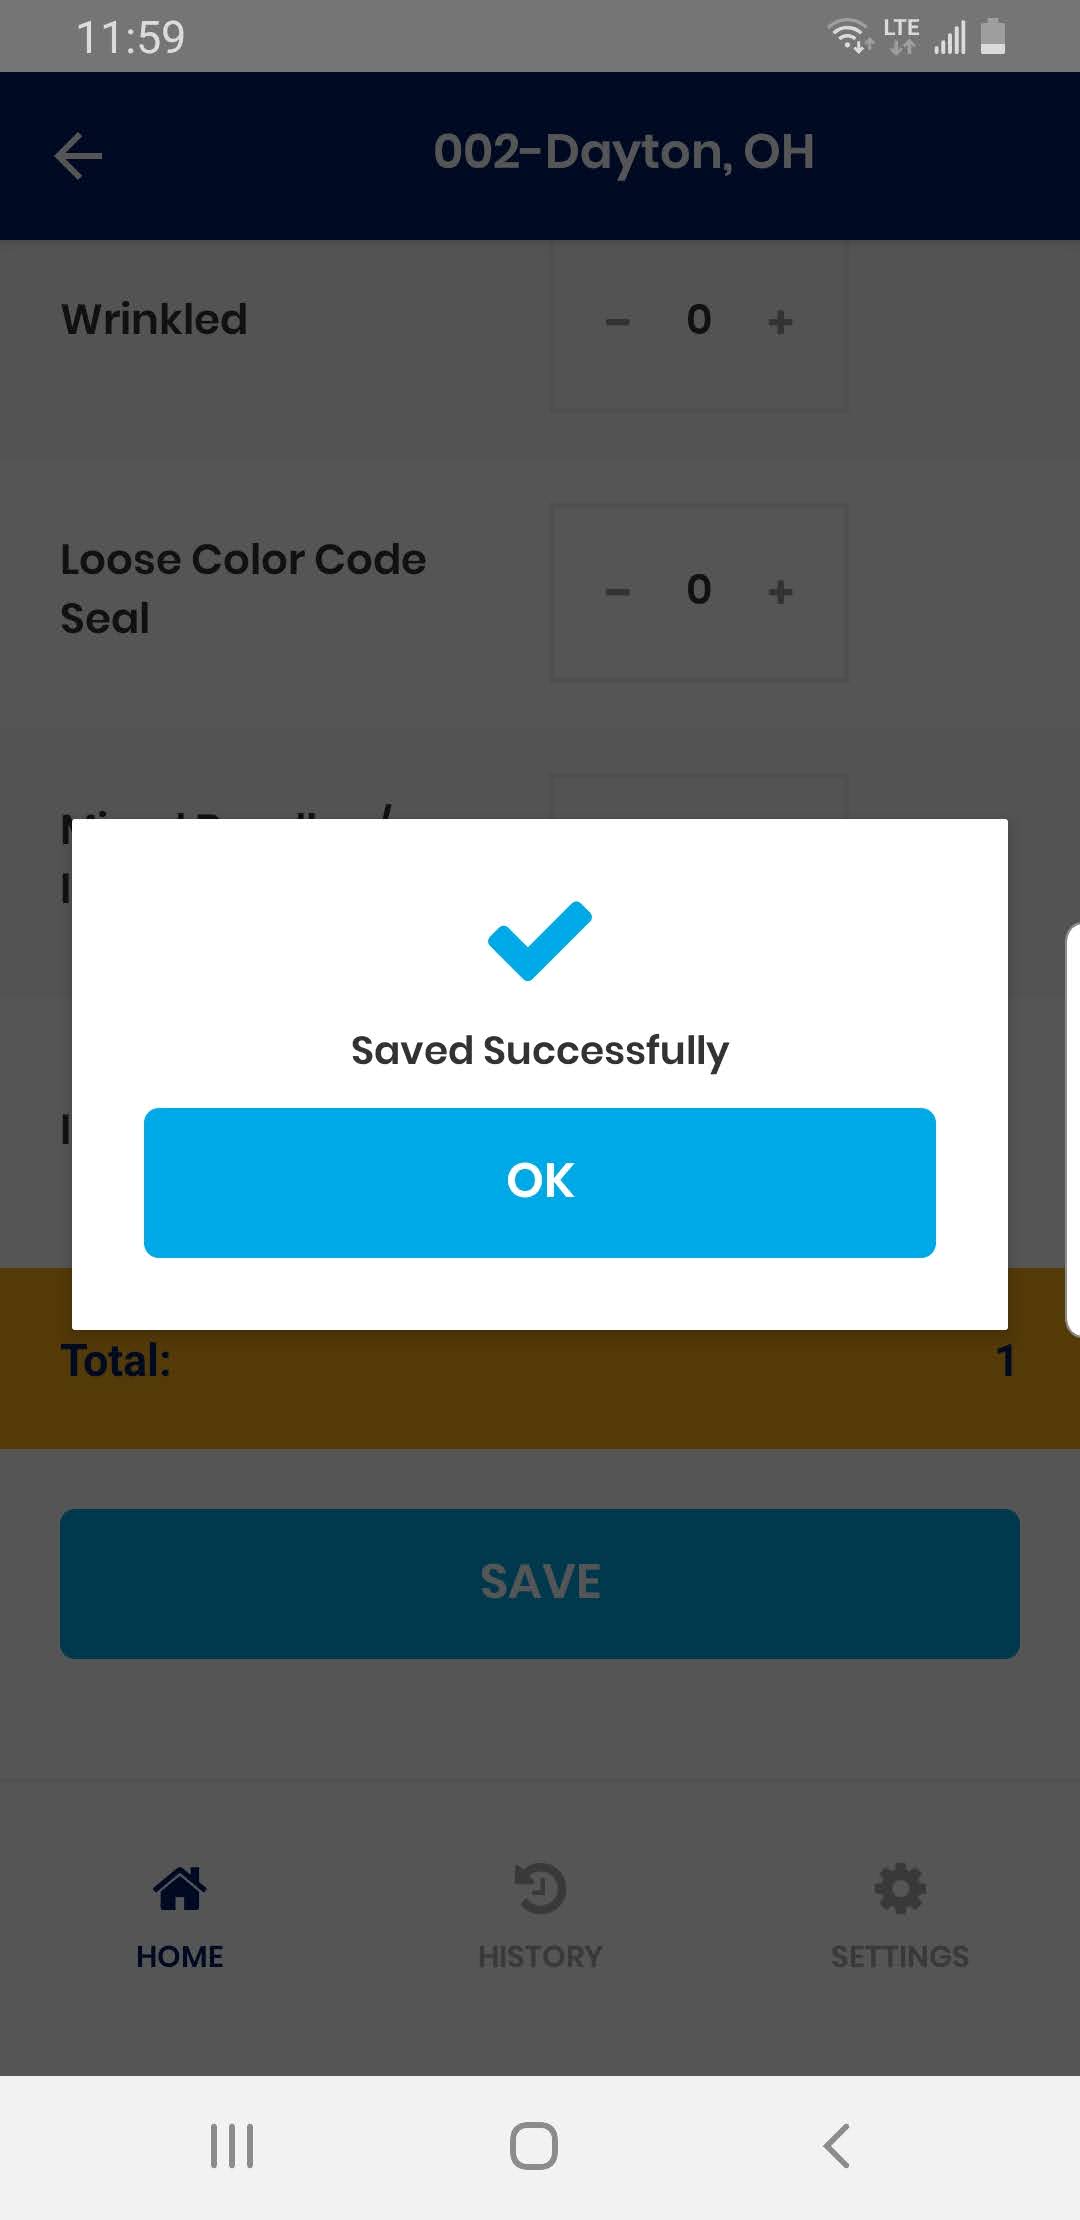
12. Once you have completed this, Click on Upload to upload the picture and associate it with non-conformance. You can enter details of additional non-conformances if needed.
13. Click on the Save to store non-conformance information. “Saved Successfully” message will appear once Save is completed.